Table of Contents [expand]
Last updated May 26, 2026
Heroku Postgres is a managed SQL database service provided directly by Heroku. You can access a Heroku Postgres database from any language with a PostgreSQL driver, including all languages Heroku officially supports.
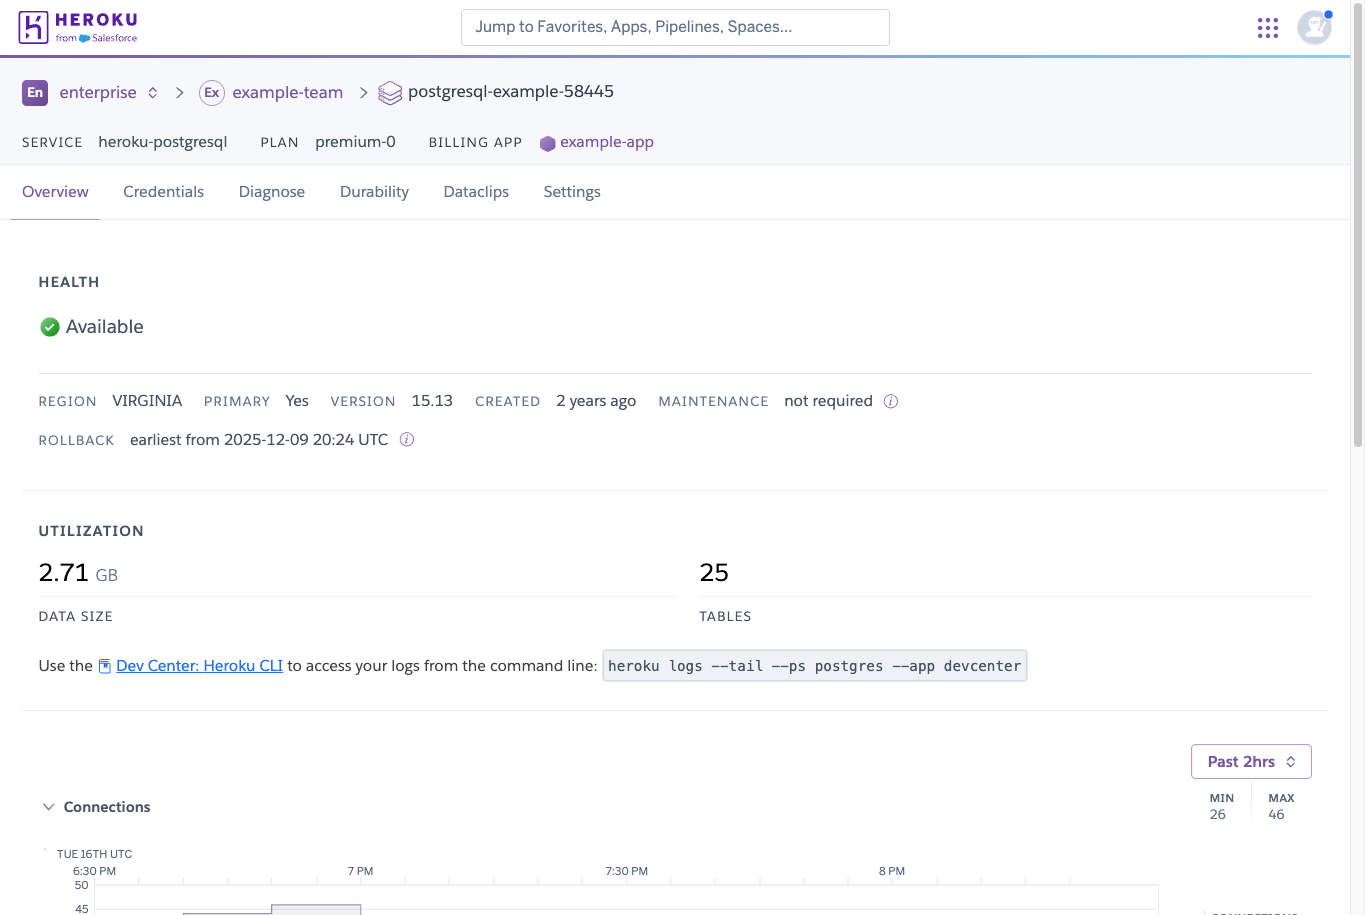
In addition to a variety of Heroku CLI commands to manage your database, Heroku Postgres provides a web dashboard from the Heroku Dashboard, Dataclips to share queries, and several other helpful features.
Understanding Heroku Postgres Plans
Heroku Postgres Advanced is in limited general availability. To start creating and using Advanced databases, open a ticket with Heroku Support to request access. Subscribe to our changelog to stay informed of when Heroku Postgres Advanced is generally available.
Heroku Postgres offers a variety of plans, spread across different tiers of service: Advanced (Limited GA), Essential, and “classic” tiers which include Standard, Premium, Private, and Shield. For more information on what each plan provides, see Choosing the Right Heroku Postgres Plan.
Pricing information for Heroku Postgres plans is available on the Heroku Postgres add-on page.
If your app’s requirements eventually outgrow the resources provided by the initial plan you selected, you can upgrade Essential and classic Postgres databases to a new plan, or update the configuration on Advanced databases.
Provisioning Heroku Postgres
For more information about how to provision a Heroku Postgres database, see:
- Essential and Classic Databases: Provisioning Heroku Postgres
- Advanced Databases (Limited GA): Provisioning Heroku Postgres Advanced
Local Setup
Heroku recommends running Postgres locally to ensure parity between environments. For more information about how to set up Heroku Postgres to run in your local environment, see Local Setup for Heroku Postgres.
Using the CLI
For more information about managing Heroku Postgres using the CLI, see:
- Essential and Classic Databases: Managing Heroku Postgres Using the CLI
- Advanced Databases (Limited GA): Managing Heroku Postgres Using the CLI
Manage Your Heroku Postgres Database
Designating a Primary Database
For more information about designating a primary database, see:
- Essential and Classic Databases: Provisioning Heroku Postgres.
- Advanced Databases (Limited GA): Provisioning Heroku Postgres Advanced
Sharing Heroku Postgres Between Applications
For more information about sharing your database between applications, see:
- Essential and Classic Databases: Provisioning Heroku Postgres.
- Advanced Databases (Limited GA): Provisioning Heroku Postgres Advanced
Importing and Exporting Databases
For more information about exporting to or importing from external PostgreSQL databases with PGBackups, see Importing and Exporting Heroku Postgres Databases.
Configure Database Settings
For information about configuring settings on your database, see Heroku PGSettings.
Destroying the Add-on
For more information about removing your database add-on, see:
- Classic Databases: Provisioning Heroku Postgres
- Advanced Databases (Limited GA): Provisioning Heroku Postgres Advanced
Version Support
The PostgreSQL project releases new major versions on a yearly basis. Heroku Postgres supports each major version after testing for compatibility with the platform. For more information about version support on Heroku Postgres, see Heroku Postgres Version Support.
For more information about upgrading the version on your database, see Upgrading the Version of a Heroku Postgres Database.
Migrating Between Plans
On Advanced databases (Limited GA), you can update an existing database’s plan level instead of migrating to a new plan.
For more information about upgrading and migrating Essential and classic database plans, see Changing the Plan or Infrastructure of a Heroku Postgres Database.
Connecting to Heroku Postgres
For examples on connecting to Heroku Postgres, see:
- Connecting to Heroku Postgres
- Connecting to Common Runtime Heroku Postgres Databases from an External Resource
- Connecting to a Private or Shield Heroku Postgres Database from an External Resource
Monitor Your Heroku Postgres Database
Performance Analytics
For more information about performance analytics, see Heroku Postgres Performance Analytics.
Metrics Logs
For more information about Heroku Postgres metrics logs, see Heroku Postgres Metrics Logs.
To get started on monitoring your database and best practices, see:
High Availability
For more information about high availability on Heroku Postgres, see High Availability on Heroku Postgres.
Maintenance
From time to time, Heroku performs maintenance tasks on a Heroku Postgres database. Typical tasks include updating the underlying infrastructure of the database. For more information, see Heroku Postgres Maintenance.
Security and Compliance
Data Residency
When a database gets provisioned, the data associated with that database is stored within the region in which it’s created. However, some services ancillary to Heroku Postgres and the systems managing the database fleet aren’t located within the same region as the provisioned databases:
- Postgres Continuous Protection for disaster recovery stores the base backup and write-ahead logs in the same region that the database is located.
- Logs for the Common Runtime are routed in the same region the app is running within. For example, logs for an app in the
usregion gets routed through theusinfrastructure. - Logs for apps in Private Spaces stay within the same region as the space itself. For example, logs for an app in a Tokyo space routes through the infrastructure in Tokyo. You can deploy apps with strict compliance requirements in Shield Private Spaces, which uses Private Space Logging to route logs instead of Logplex.
- You can block the logging of Heroku Postgres queries and errors by using the
--block-logsflag when creating the database withheroku addons:create heroku-postgres:.... - Heroku PGBackups snapshots are stored in the US. To capture logical backups in another region, see Heroku Postgres Logical Backups.
- Dataclips are stored in the US.
See the Salesforce Infrastructure & Sub-processors document for the list of sub-processors Heroku uses and the list of countries where Heroku data is stored and processed.
Support
Submit all Heroku Postgres support and runtime issues via one of the Heroku Support channels.