Last updated March 20, 2024
SSO is available only for Heroku Teams and Heroku Enterprise customers.
Azure AD can serve as the identity provider, or “IdP,” for Active Directory (AD) to provide single-sign-on (SSO) user login to Heroku.
Heroku supports SSO via SAML, a standard in wide use by enterprises and companies to provide authentication services to products that otherwise require separate accounts and logins.
Setting up Active Directory to use SSO for Heroku takes about 15 minutes. There are two main steps involving the Azure and Heroku web interfaces.
Step 1: Set Up the Identity Provider “IdP” Side (Azure Active Directory)
As an admin, log into your Azure Portal, browse to Active Directory, and select the directory to enable with SSO for Heroku.
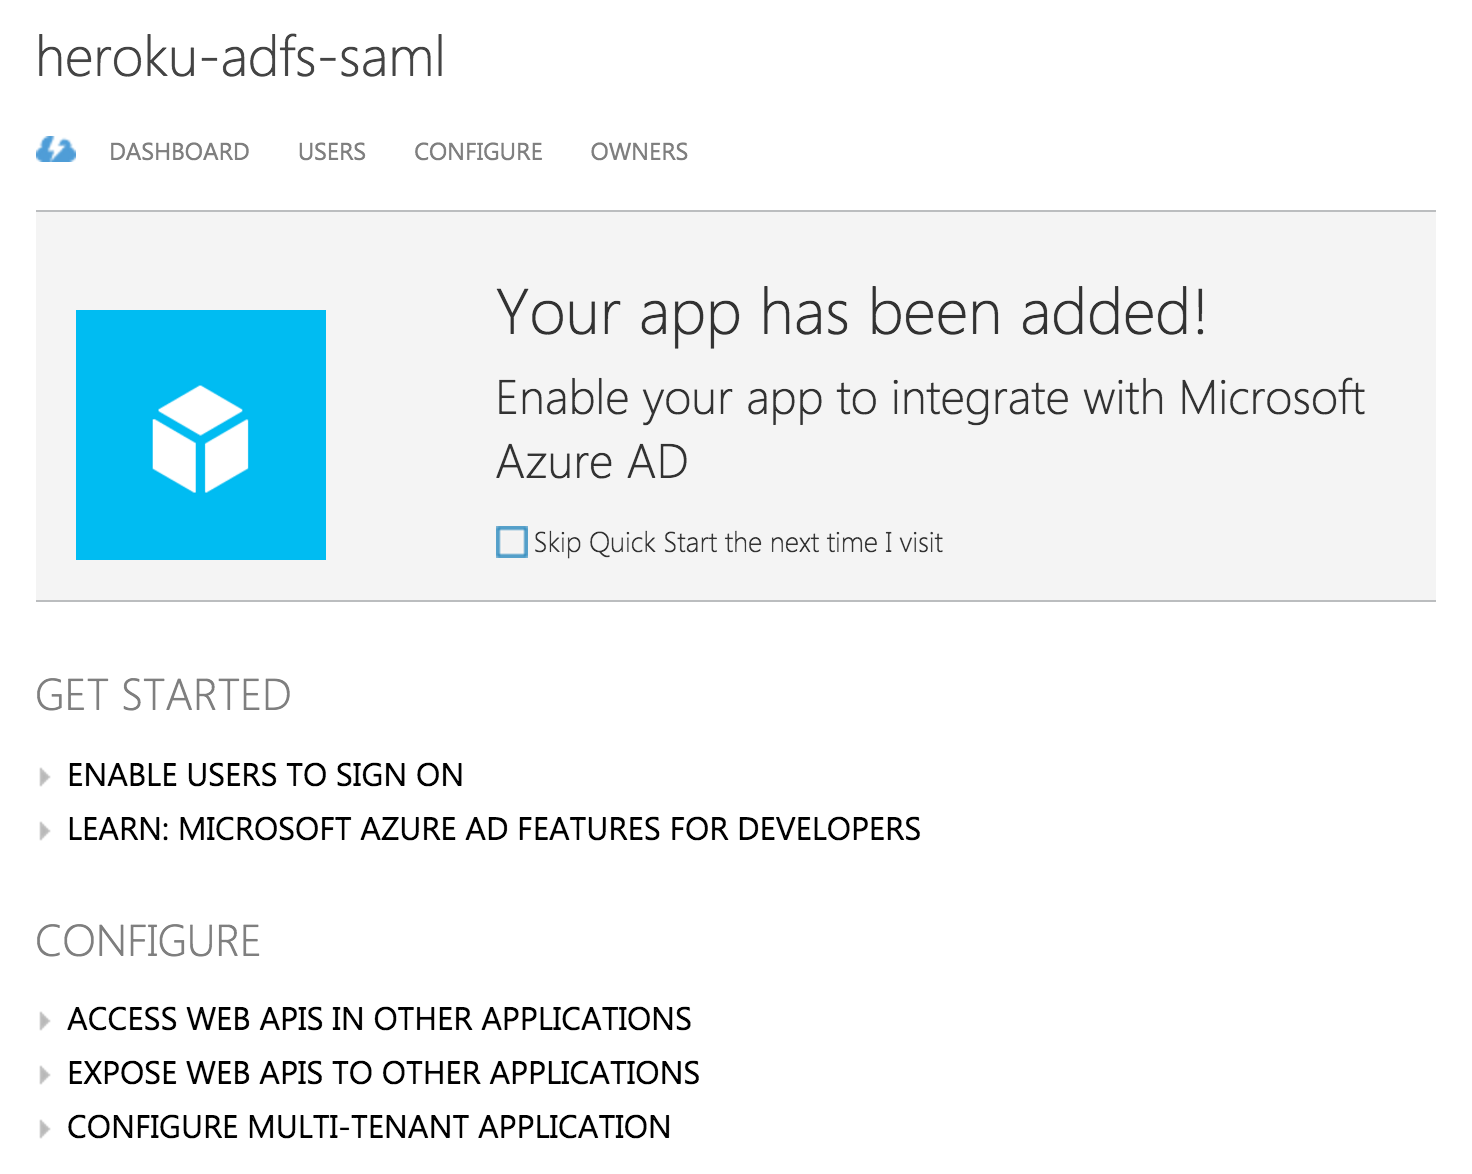
Create and Configure a SAML Application for Your Directory
- Go to
Applications. - Select
Addfrom the footer menu. - Choose
Add an application my organization is developing. - Give your application a name and select
Web application and/or Web App. - Enter your app properties with the information provided in your team or account’s
Settingspage for SSO configuration: a. Sign-on URL: provide “Heroku Login URL” b. App ID URI: provide your “ACS URL” - After adding your app, go to
Enable users to sign on. - Copy the “FEDERATED METADATA DOCUMENT URL” and paste the URL into a new browser window. Save the file to your local machine. You need this document later, so store it in a place that you remember.
Step 2: Set Up the Service Provider Side (Heroku)
- In the Heroku web interface, select the team or account.
- In the
Settingstab, upload the federation metadata document XML file.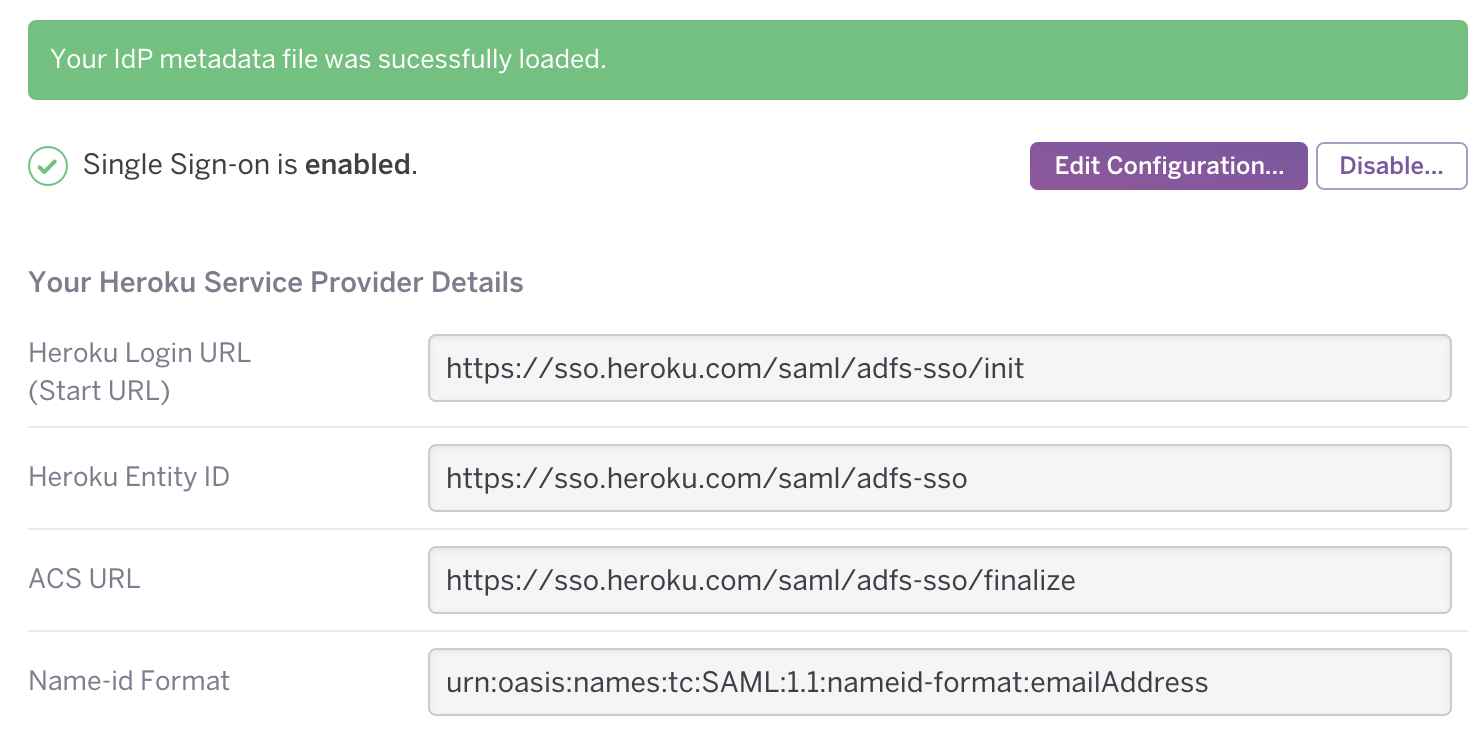
Congratulations! SSO is now enabled for your Active Directory users through Azure IdP. Heroku users can now log in using Azure credentials at the “Heroku Login URL” you configured.