Last updated January 31, 2025
We recommend using our low-cost plans to complete this tutorial. Eligible students can apply for platform credits through our new Heroku for GitHub Students program.
This tutorial walks you through subscribing to an app webhook that notifies you whenever your Heroku app is deployed.
After you complete the tutorial, see the full webhooks documentation for more information on subscribing to webhooks and supported event types.
Pre-requisites
- A verified Heroku Account
- You are subscribed to the Eco dynos plan (recommended)
Step 1: Set up Webhooks Viewer
Using dynos to complete this tutorial counts towards your usage. Scale your dynos to 0 as soon as you are done to control costs.
By default, apps use Eco dynos if you are subscribed to Eco. Otherwise, it defaults to Basic dynos. The Eco dynos plan is shared across all Eco dynos in your account and is recommended if you plan on deploying many small apps to Heroku. Learn more here. Eligible students can apply for platform credits through our Heroku for GitHub Students program.
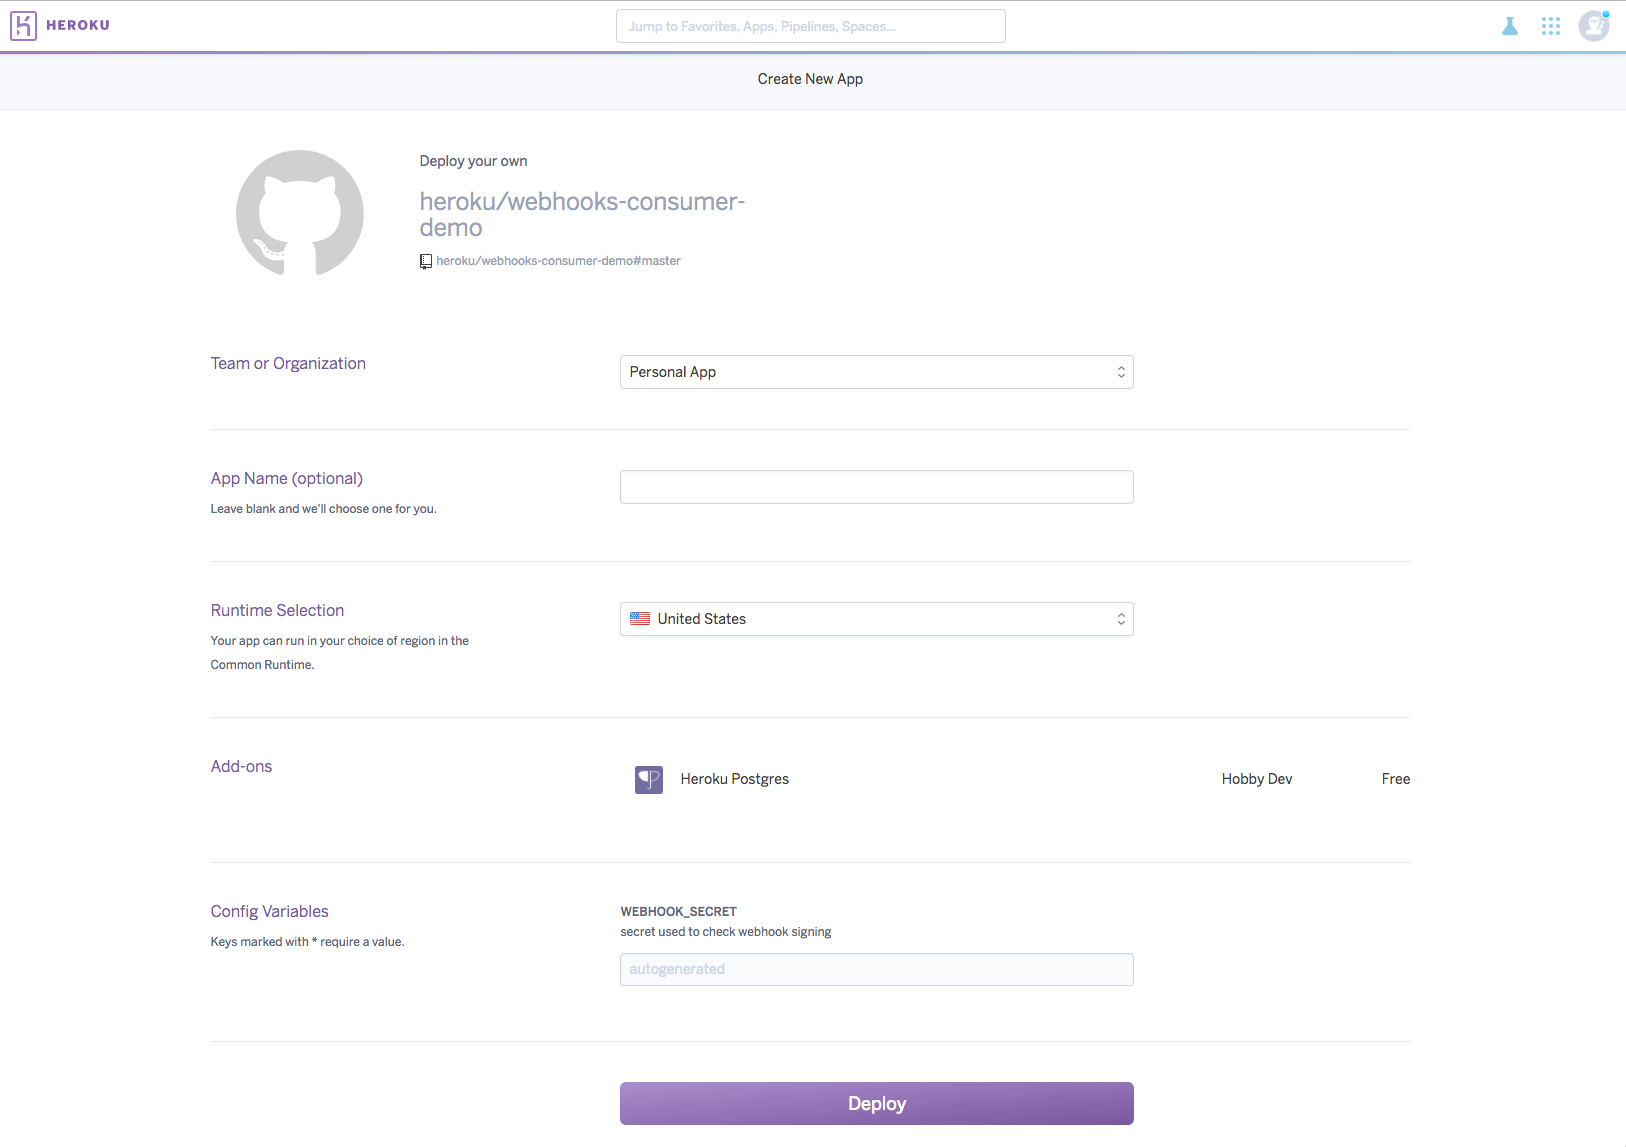
The Webhooks Viewer sample app provides an easy way to view webhook notifications as they’re sent. Deploy the Webhooks Viewer app with this Heroku Button:

If you aren’t logged in or don’t have a Heroku account, you’ll progress through the login flow before deploying.
When you reach the setup page for the app, scroll down and click Deploy. There’s no need to change any of the app’s settings.
After your app is successfully deployed, all of the checkboxes below the Deploy button turn green:
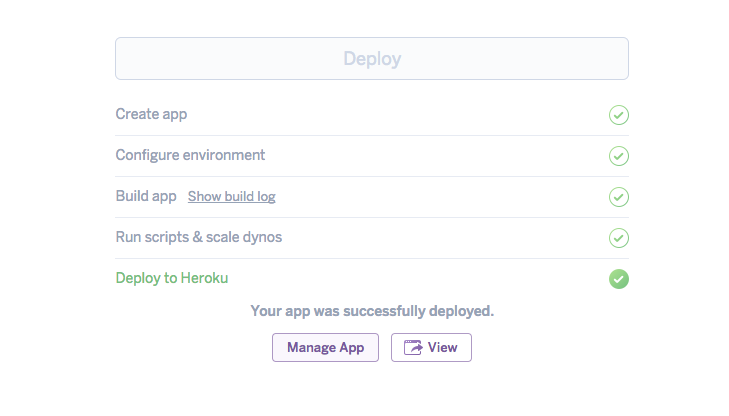
Now, click View to open the Webhooks Viewer app:
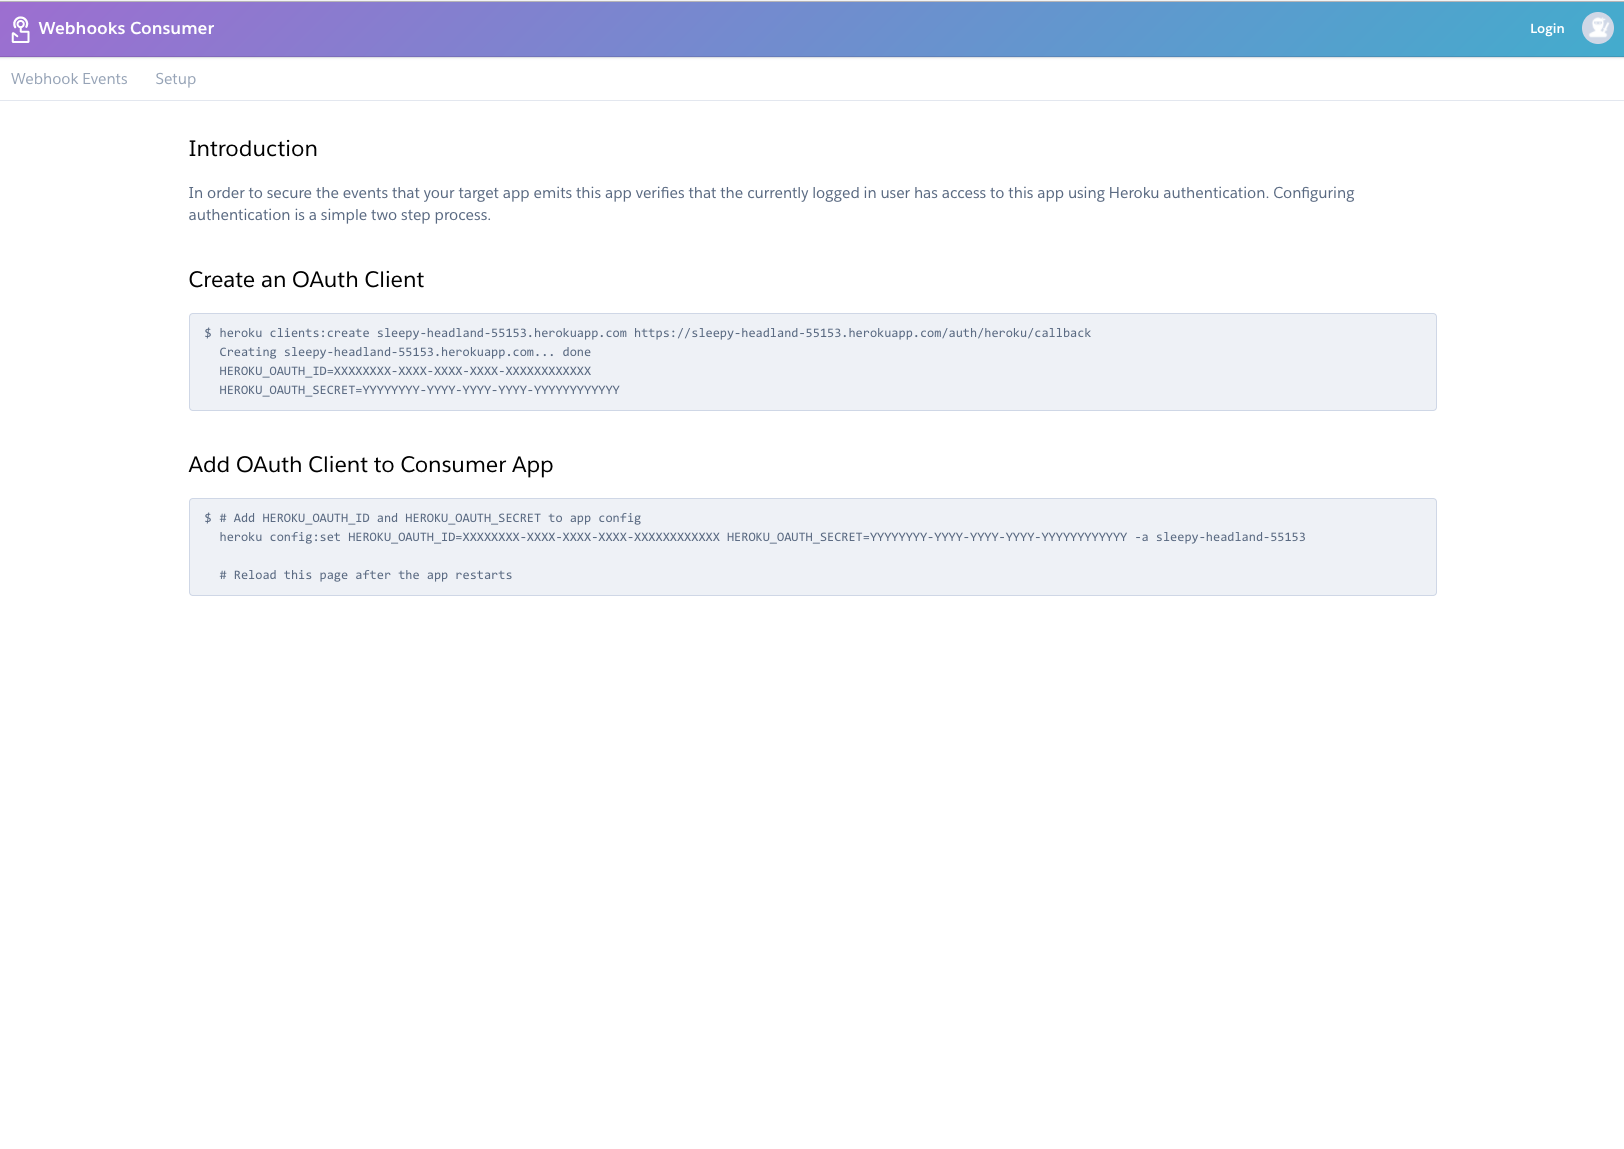
Follow the instructions shown in the app to authenticate. You’ll be prompted to grant Webhooks Viewer read access to your apps.
After you authenticate, the instructions are replaced by the following content:

Step 2: Create a webhook subscription using the Heroku CLI
Next, you subscribe to webhook notifications using the Heroku CLI. Navigate to the Setup Instructions tab of Webhooks Viewer and follow its instructions.
Your webhook subscription will notify you whenever an app of your choice is deployed. You can choose one of your existing Heroku apps or create a new one.
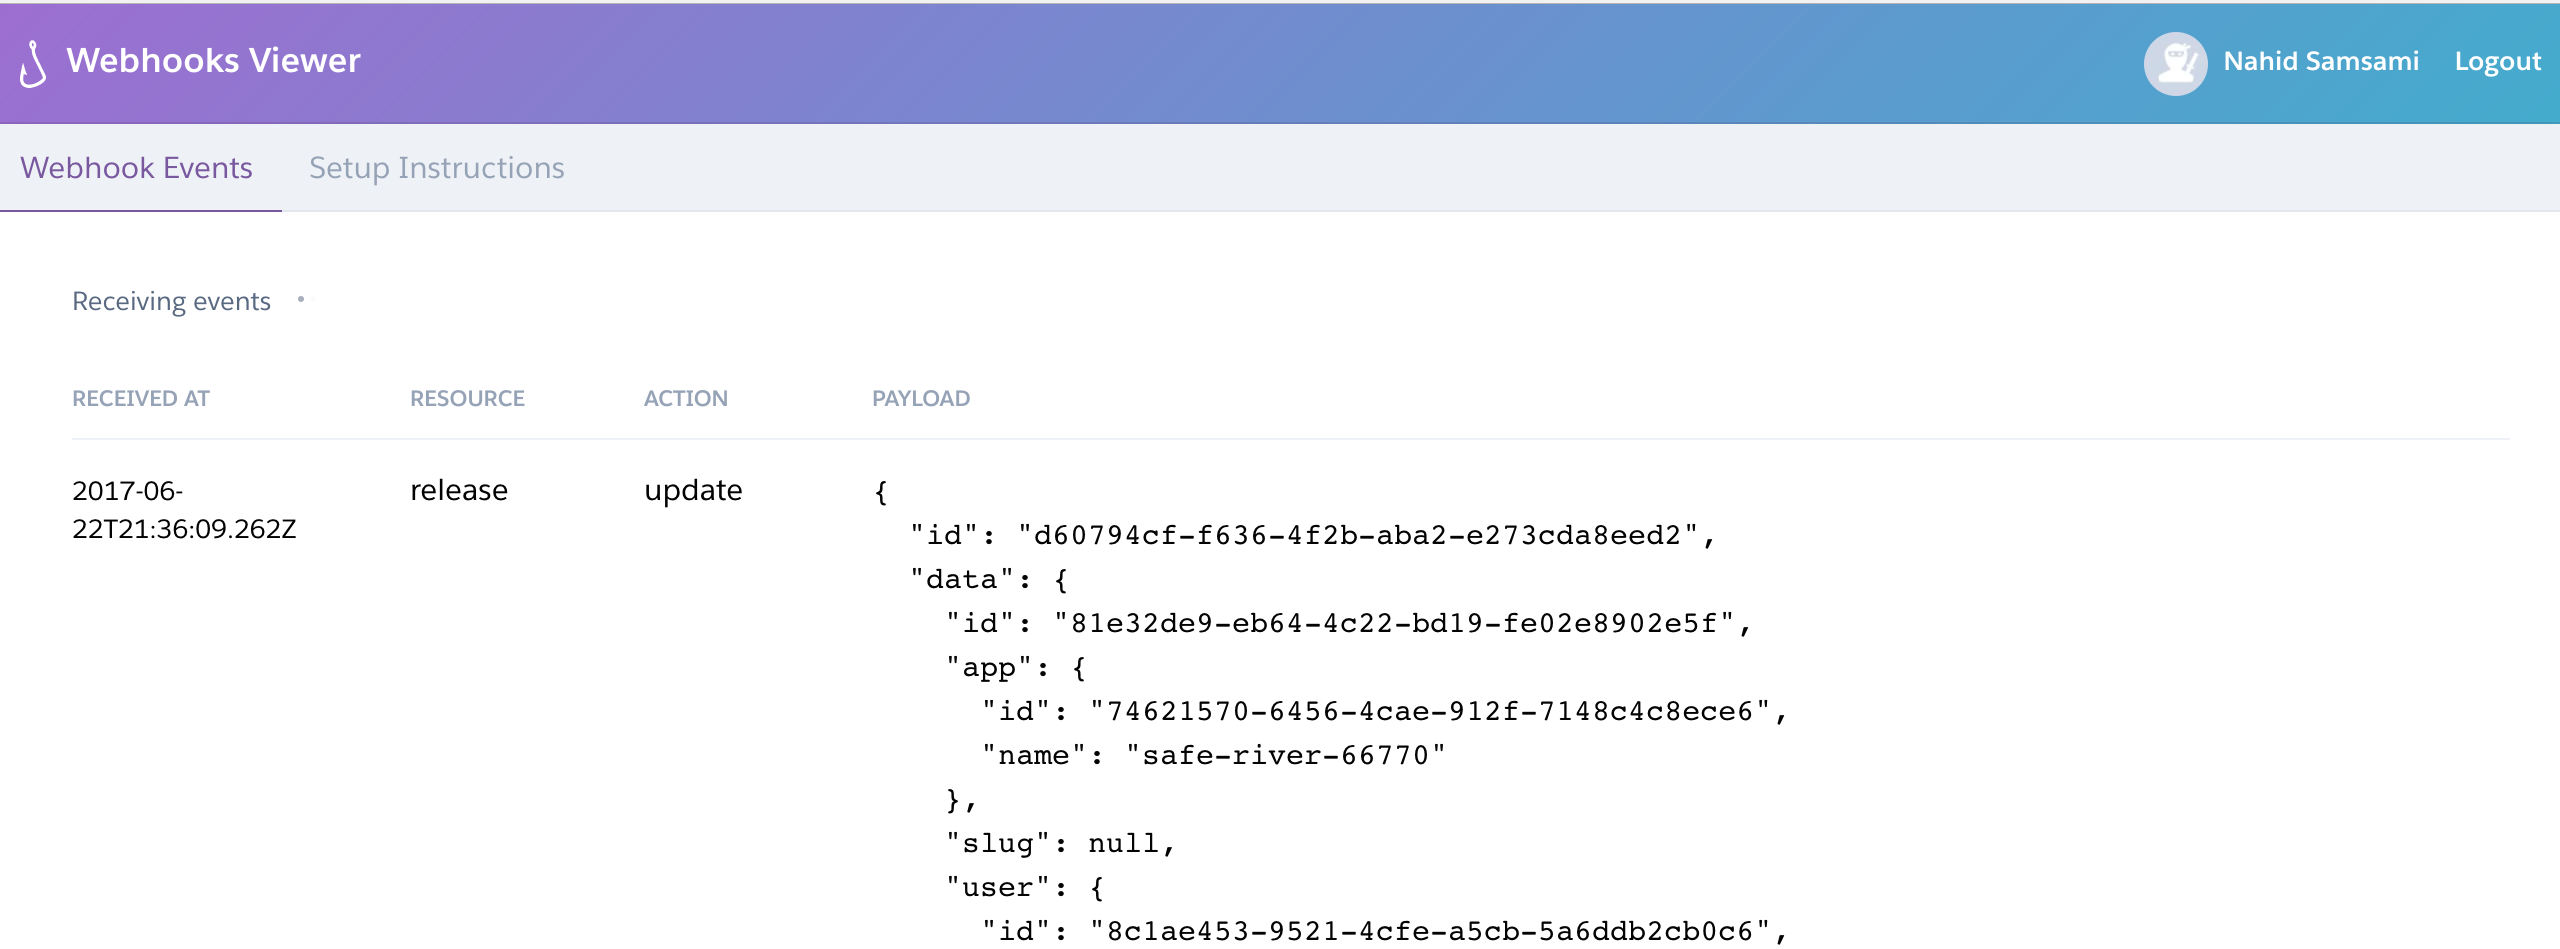
Step 3: Test your subscription
To test that your webhook subscription works, initiate a release for the app you’ve subscribed to. (You can set a dummy config var value for the app to initiate a release for it easily.)
Shortly after you initiate the release, you should see the details of the notification arrive in Webhooks Viewer.
Advanced webhooks usage
Now that you’ve successfully subscribed to webhook notifications, see the full app webhooks documentation for more information on subscription options and supported event types.