Last updated December 07, 2020
This add-on is operated by DataDNA
Quickly build charts and dashboards across PostgreSQL databases. No ETL needed.
DataDNA is a SaaS analytics service based on the open-source project Redash. DataDNA allows you to:
- build charts, graphs, and dashboards based on the data from your database(s), CSVs, and Google Spreadsheets
- quickly analyze your data across any number of PostgreSQL databases and join them all together without the need to build and maintain your own extract-transform-load pipelines
- setup quickly and start exploring your data
Provisioning The Add-on
DataDNA can be attached via Heroku CLI.
$ heroku addons:create datadna --app <your-app-name>
Accessing DataDNA service
You can either access DataDNA via the CLI.
$ heroku addons:open datadna
Alternatively, you can visit your Heroku application’s dashboard and launch DataDNA from there.
Adding a PostgreSQL database
Whenever possible, connect to a follower database rather than to your app’s primary database.
In the DataDNA app, navigate to the Settings page (click on the gear icon) and click +New Data Source. Choose PostgreSQL as a Data Source.


Next, supply your PostgreSQL database credentials.

You can acquire your PostgreSQL credentials via the Heroku CLI
$ heroku pg:credentials:url
You can also find the credentials via your PostgreSQL resource settings page in your Heroku app’s dashboard.
Best practice: create a read-only user
It’s best practice to create a read-only user and supply this credential instead. To do so, issue the command below.
$ heroku pg:credentials:create --name datadna_readonly_user --app <your-app-name>
This will create a new database user datadna_readonly_user. The password will be randomly generated by Heroku.
Next, log into your PostgreSQL database and grant the appropriate permissions for this new user.
$ heroku pg:psql --app <your-app-name>
--> Connecting to example-postgresql-database-name
psql (9.6.1, server 9.6.2)
SSL connection (protocol: TLSv1.2, cipher: ECDHE-RSA-AES256-GCM-SHA384, bits: 256, compression: off)
Type "help" for help.

sushi::CYAN=> GRANT USAGE ON SCHEMA PUBLIC TO datadna_readonly_user;
GRANT

sushi::CYAN=> GRANT SELECT ON ALL TABLES IN SCHEMA public TO "datadna_readonly_user"; -- give access to the existing tables
GRANT

sushi::CYAN=> ALTER DEFAULT PRIVILEGES IN SCHEMA public GRANT SELECT ON TABLES TO "datadna_readonly_user"; -- give access to future tables
ALTER PRIVILEGES
See Heroku’s documentation for a more detailed explanation of creating a read-only user.
Query the database
Single database query
In the DataDNA dashboard, navigate to the New Query page by clicking on the + icon on the left column and selecting New Query. You should now see all the tables in your database listed in the left column. Enter your SQL query and click Execute.

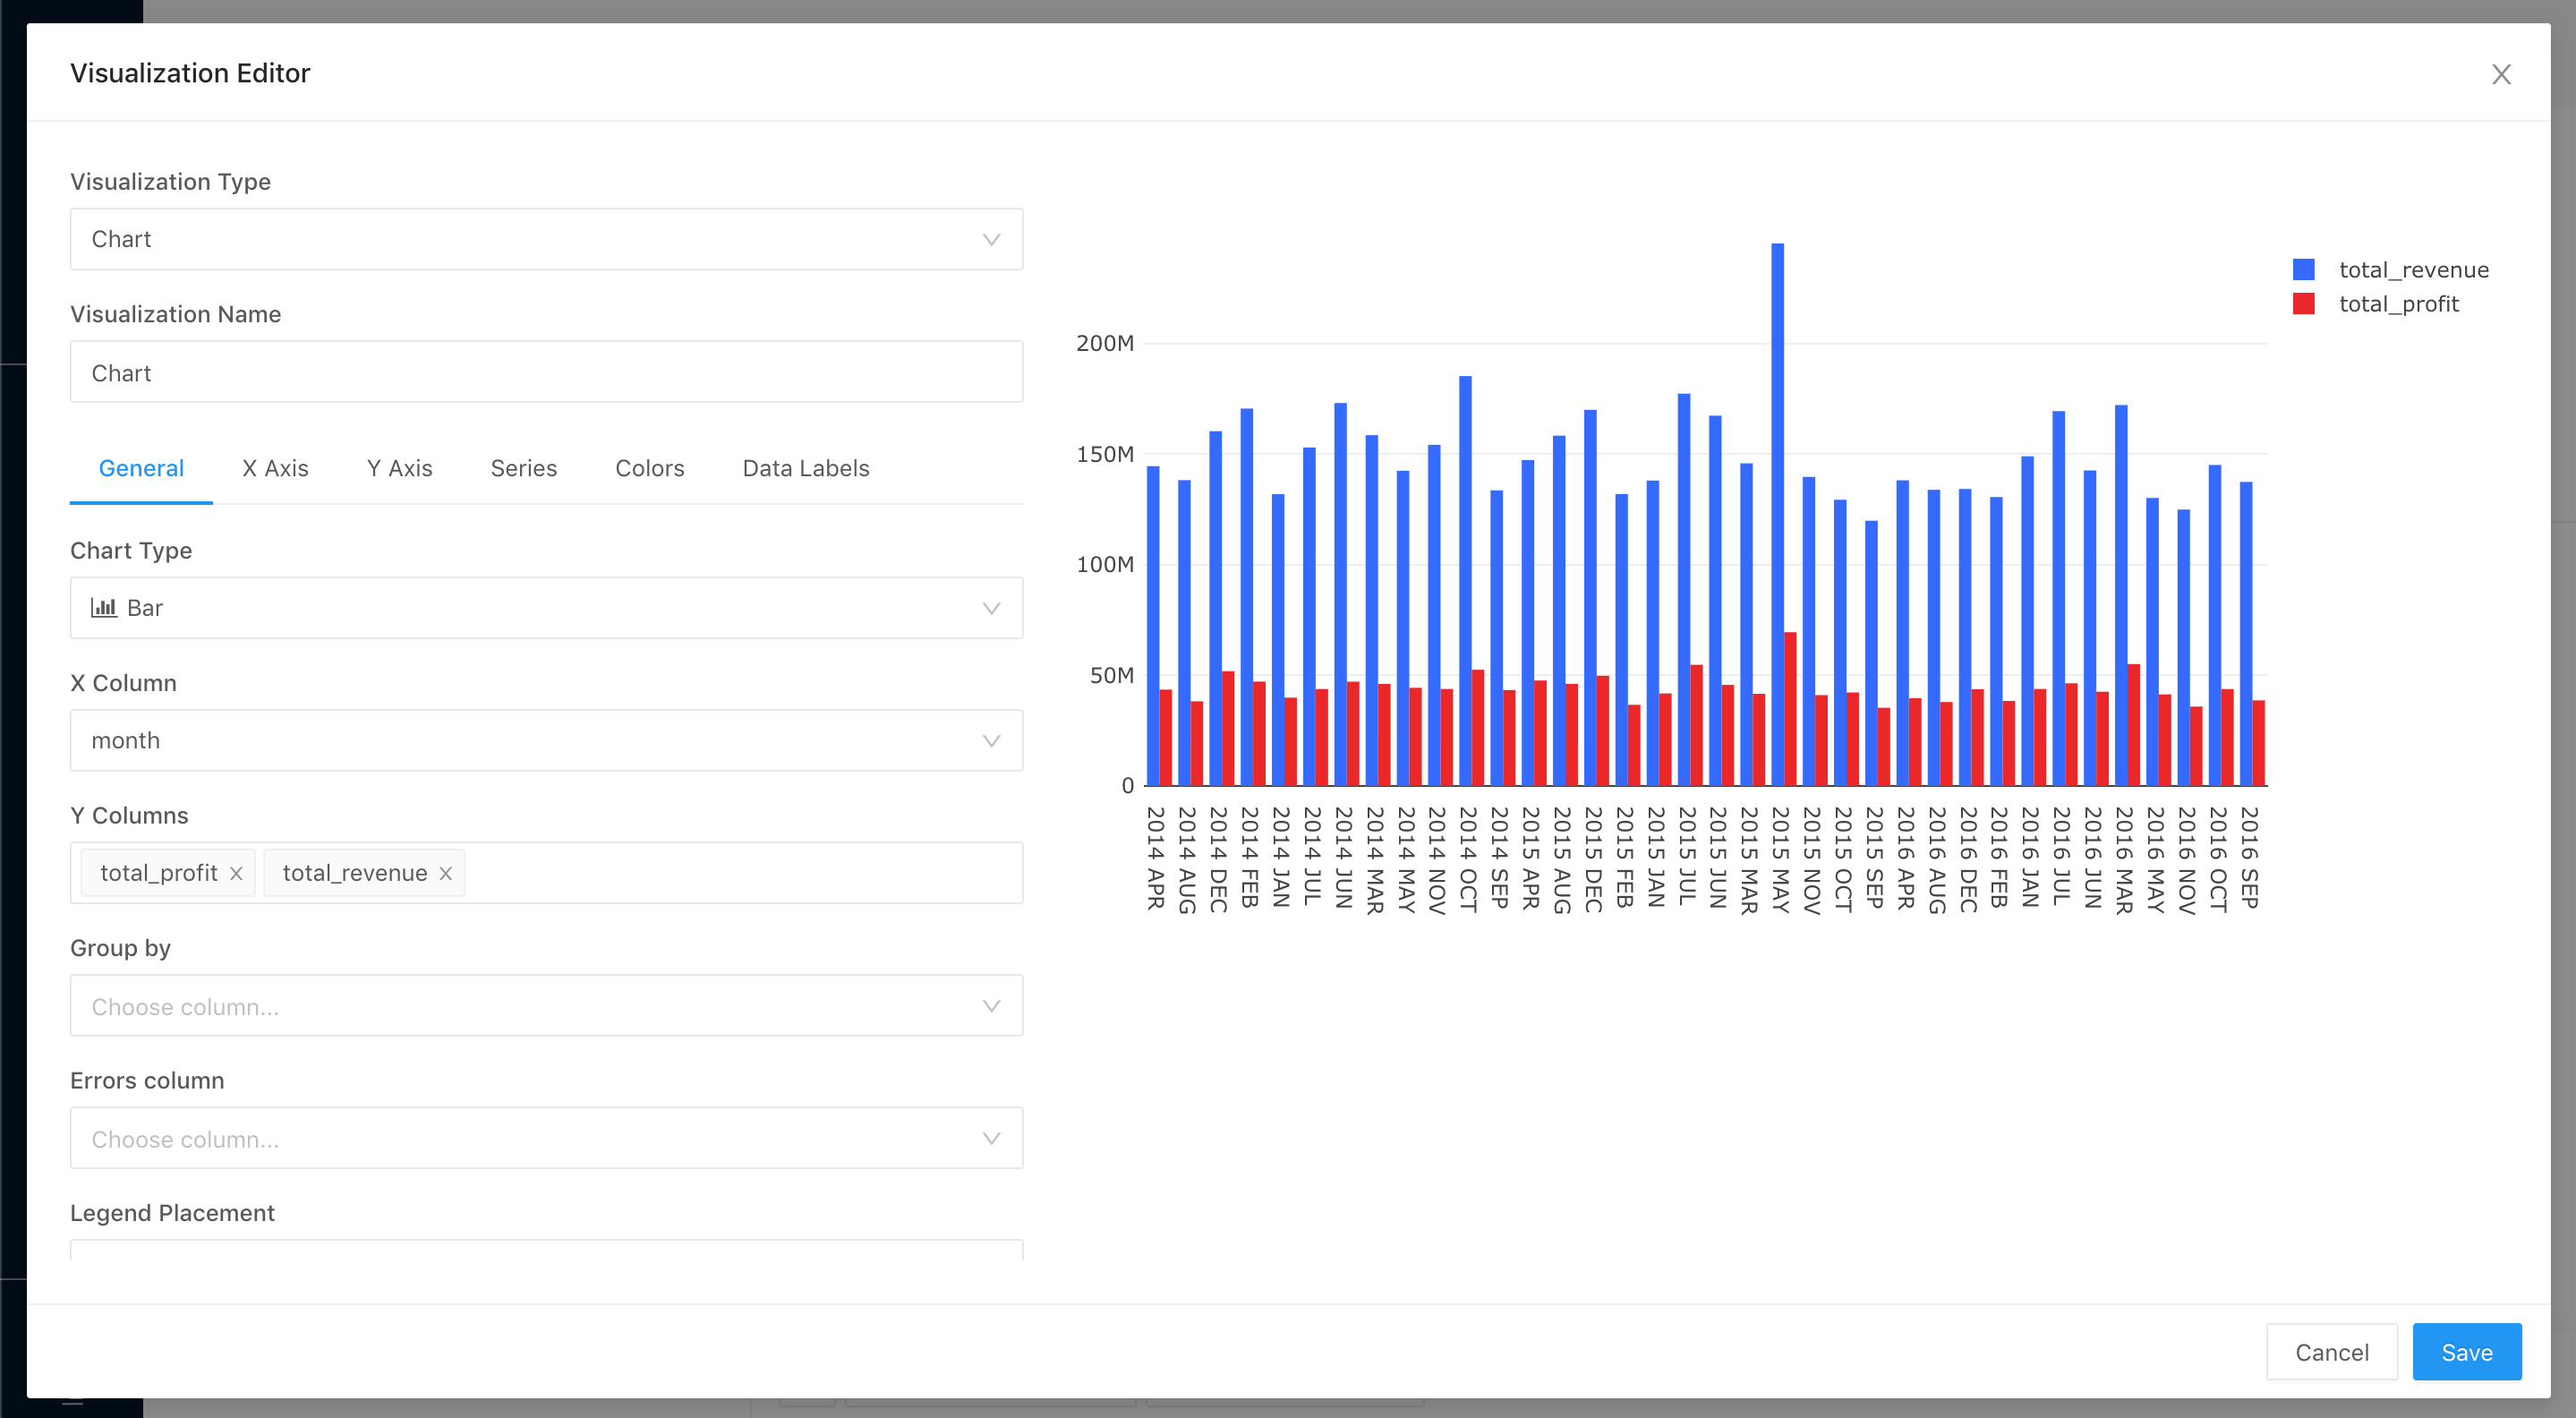
Once you’ve executed the query, you can quickly create the charts from the resulting dataset by clicking + Add Visualization.

You can then add all charts to a dashboard and share with your team or to external parties.

Multiple database queries
DataDNA’s biggest advantage is allowing you to quickly query and join datasets from any number of PostgreSQL databases without needing to build and maintain your own ETL pipelines or your own data warehouse. This is the same process as a single query above, but note that you can include tables from multiple connected databases.

Inviting team members
Invite any number of users through DataDNA’s user interface.
Support
If you have a question or issue, you can submit to one of the Heroku Support channels or send an email to support@datadna.io.
Removing the add-on
You can remove DataDNA via Heroku CLI. Note, this is irreversible and will destroy all your dashboards and charts on DataDNA.
$ heroku addons:destroy datadna --app <your-app-name>