Last updated July 16, 2025
Your Heroku Authentication Experience Under SSO
After your administrator enables single sign on (SSO) for Heroku, you can log into Heroku on your company’s identity provider. This process is similar to how you log into other cloud services like Slack and Dropbox. Your company uses the identity provider (IdP) to centralize authentication to any number of cloud or on-premise services, accessing each, usually with a single click.
As a user, you only need to enter your username and password one time at the IdP to gain access to all services under the IdP’s control.
Only your identity administrator can add Heroku to the list of service providers available to you under single sign-on. Often these service providers are presented to you in tiles on your main login page.
Email communications about single sign-on always come from your identity administrator, not Heroku. If you have questions about single sign-on or any particular communication you might receive, contact your company’s identity administrator.
Upgrading Your Existing Heroku Account Authentication to SSO
Users with a Heroku account under their work email get invited to upgrade their authentication mechanism to SSO at a URL supplied by the company’s identity admin. The upgrade process for the account changes the Heroku login to use the company’s IdP. This process gives the company authentication control over the account.
After users upgrade to SSO, they can no longer log in with personal credentials. They must use SSO. Before upgrading to SSO, we recommend that users transfer any personal apps to a different, personal, Heroku account. Users who decline or postpone the upgrade process can re-initiate and join SSO at anytime by navigating to the SSO links.
Users who cancel the upgrade process appear to organization administrators as “not under SSO.”
There’s always a “personal” area in the upgraded account, but your company can block access to that Heroku account at any time, so “personal” refers to personal in an employee context.
If your account has any long-lived tokens, they get invalidated after upgrading your account to use SSO.
Obtaining a New Heroku Account under SSO
When you log into Heroku for the first time via your company identity provider (IdP), we create a Heroku account for that email if one doesn’t already exist. Heroku trusts the organization’s IdP and creates accounts if necessary for authenticated users.
You receive a welcome email from Heroku and must click the acknowledgment link to activate your account.
Authenticating to the Heroku CLI under SSO
Use the heroku login command to log in to the Heroku CLI under SSO:
$ heroku login
heroku: Press any key to open up the browser to login or q to exit
 ›   Warning: If browser does not open, visit
 ›   https://cli-auth.heroku.com/auth/browser/***
This command opens your web browser to the Heroku login page, where you can select the SSO login option:
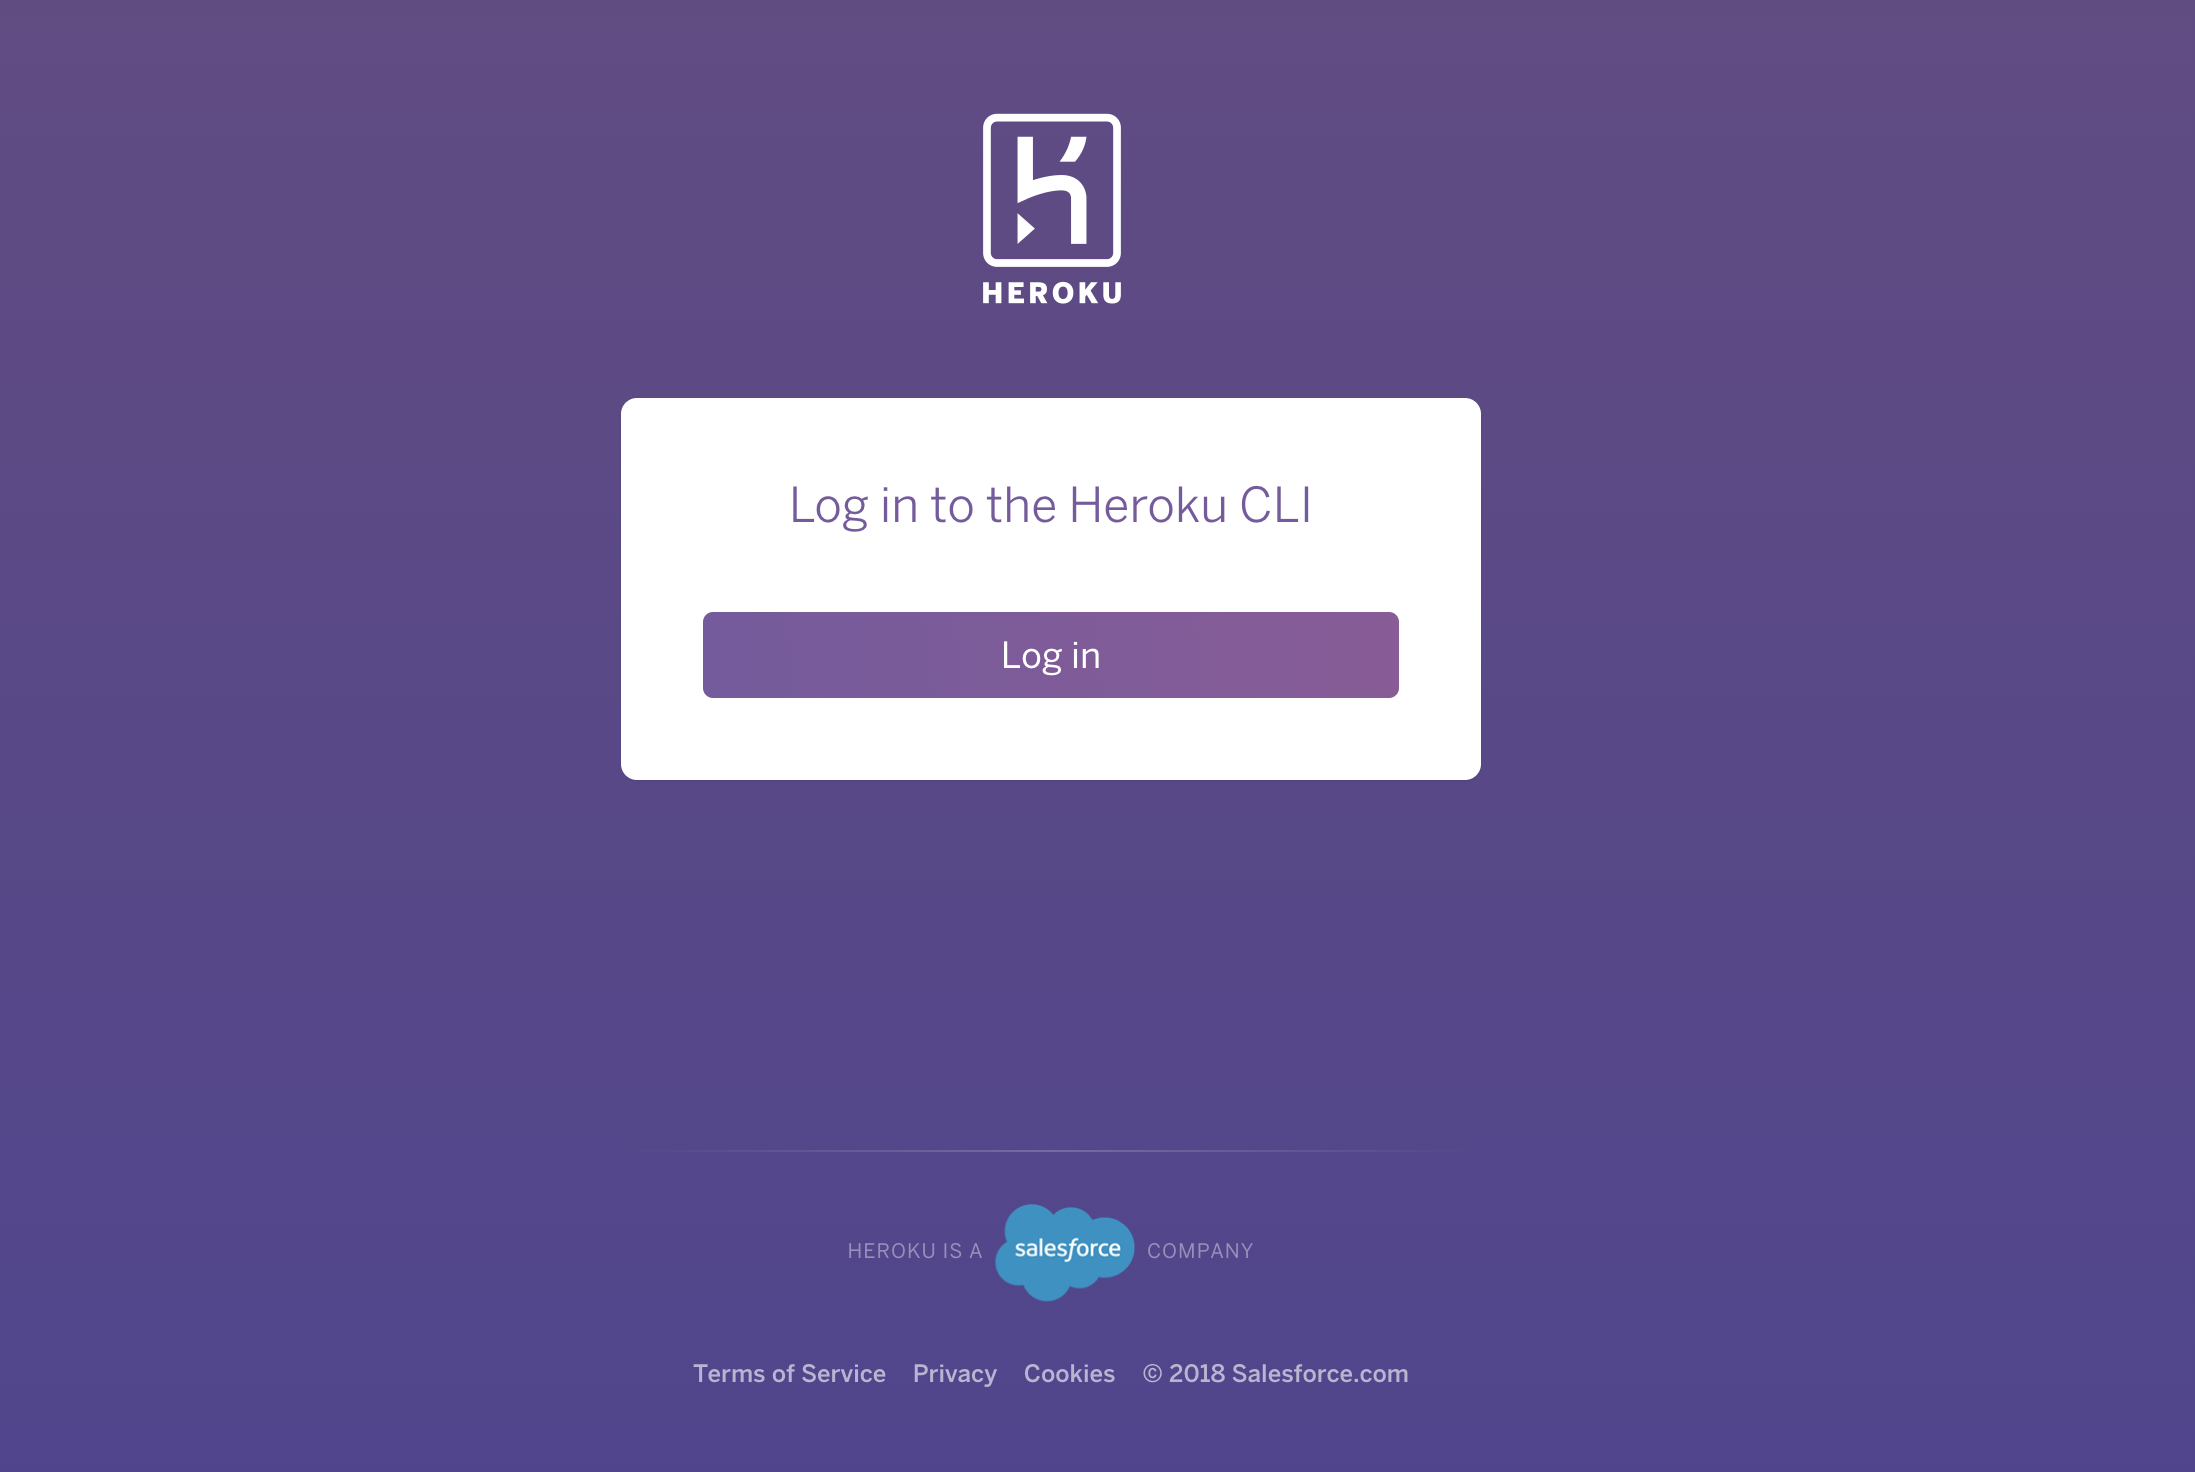
After you click the Log in button, the Heroku CLI automatically logs you in:
$ heroku login
heroku: Press any key to open up the browser to login or q to exit
 ›   Warning: If browser does not open, visit
 ›   https://cli-auth.heroku.com/auth/browser/***
heroku: Waiting for login...
Logging in... done
Logged in as me@example.com
You can use the legacy SSO login by setting the environment variable HEROKU_LEGACY_SSO=1. Then, run heroku login to log in directly from the CLI. Note, that this method is the only one available for headless SSO login.
FAQ: My Heroku account under SSO
Q: What if an employee leaves the company? How does the admin access the former employee’s personal apps?
A: The admin can log in as the user and transfer the apps.
Q: If a user upgrades auth to SSO and the IdP itself is disconnected by the admin at a future time, can the user log into their account?
A: Provided you still have access to your company email, you can reset your Heroku password in the normal way, and access your account.
Q: Can I disconnect my account from SSO?
A: No. After you upgrade your authentication and connect to an organization’s IdP, only the IdP admin can disconnect your account from SSO.
Q: How long does my SSO session last on Heroku?
A: An SSO session lasts 8 hours. After 8 hours, you will be prompted to login again.
Q: I already have a Heroku account with permissions on a team or Enterprise account. Will signing in via SSO change my permissions on that team / Enterprise account?
A: In most cases, logging in via SSO with an existing Heroku account won’t change your permissions on the team or Enterprise account.
The exception is if you’re a collaborator. If a collaborator signs in with SSO to a team, they get assigned the default role, not collaborator. The default role for a team is specified by an admin in the SSO section of the team’s Settings tab. If not specified, the default role is member. See Using Single Sign-On (SSO) Services with Heroku, for Administrators for details.
The default SSO permission level for Enterprise accounts is view and isn’t configurable. If you already have an Heroku account with permissions on an Enterprise account, logging in via SSO won’t change your permissions in any scenario.
Q: Am I required to enable multi-factor authentication (MFA) when using SSO?
A: Yes, you must enable MFA to ensure compliance with the company’s security and governance policies. When logging in via SSO, you must enable MFA with your identity provider instead of using the platform’s native MFA feature.