Skip Navigation
Show nav
Heroku Dev Center
  • Get Started
  • Documentation
  • Changelog
  • Search
  • Get Started
    • Node.js
    • Ruby on Rails
    • Ruby
    • Python
    • Java
    • PHP
    • Go
    • Scala
    • Clojure
  • Documentation
  • Changelog
  • More
    Additional Resources
    • Home
    • Elements
    • Products
    • Pricing
    • Careers
    • Help
    • Status
    • Events
    • Podcasts
    • Compliance Center
    Heroku Blog

    Heroku Blog

    Find out what's new with Heroku on our blog.

    Visit Blog
  • Log inorSign up
View categories

Categories

  • Heroku Architecture
    • Dynos (app containers)
    • Stacks (operating system images)
    • Networking & DNS
    • Platform Policies
    • Platform Principles
  • Command Line
  • Deployment
    • Deploying with Git
    • Deploying with Docker
    • Deployment Integrations
  • Continuous Delivery
    • Continuous Integration
  • Language Support
    • Node.js
    • Ruby
      • Working with Bundler
      • Rails Support
    • Python
      • Background Jobs in Python
      • Working with Django
    • Java
      • Working with Maven
      • Java Database Operations
      • Working with the Play Framework
      • Working with Spring Boot
      • Java Advanced Topics
    • PHP
    • Go
      • Go Dependency Management
    • Scala
    • Clojure
  • Databases & Data Management
    • Heroku Postgres
      • Postgres Basics
      • Postgres Getting Started
      • Postgres Performance
      • Postgres Data Transfer & Preservation
      • Postgres Availability
      • Postgres Special Topics
    • Heroku Data For Redis
    • Apache Kafka on Heroku
    • Other Data Stores
  • Monitoring & Metrics
    • Logging
  • App Performance
  • Add-ons
    • All Add-ons
  • Collaboration
  • Security
    • App Security
    • Identities & Authentication
    • Compliance
  • Heroku Enterprise
    • Private Spaces
      • Infrastructure Networking
    • Enterprise Accounts
    • Enterprise Teams
    • Heroku Connect (Salesforce sync)
      • Heroku Connect Administration
      • Heroku Connect Reference
      • Heroku Connect Troubleshooting
    • Single Sign-on (SSO)
  • Patterns & Best Practices
  • Extending Heroku
    • Platform API
    • App Webhooks
    • Heroku Labs
    • Building Add-ons
      • Add-on Development Tasks
      • Add-on APIs
      • Add-on Guidelines & Requirements
    • Building CLI Plugins
    • Developing Buildpacks
    • Dev Center
  • Accounts & Billing
  • Troubleshooting & Support
  • Integrating with Salesforce
  • Add-ons
  • All Add-ons
  • Upstash for Redis®*
Upstash for Redis®*

This add-on is operated by Upstash Inc.

Serverless Database for Redis® with durable storage and low latency.

Upstash for Redis®*

Last updated August 24, 2022

Table of Contents

  • Installing the Add-on
  • Connecting to the Database
  • Data Browser & CLI
  • Migrating Between Plans
  • Removing the Add-on
  • Support

Upstash is a serverless database with Redis API and durable storage. It provides:

  • Low latency data
  • Durable storage
  • Ease of use
  • REST API (SDK)

Upstash supports the Redis client protocol up to version 6.2.

Installing the Add-on

Install Upstash Redis with the command:

heroku addons:create upstash-redis

After installation, your application has the following environment variables configured:

UPSTASH_REDIS_URL: The full Redis URL that includes the password and endpoint. You can use this URL in Redis libraries in your application code.

UPSTASH_REDIS_REST_URL: The endpoint to connect to the REST API for your redis database. Upstash has an official REST API SDK.

UPSTASH_REDIS_REST_TOKEN: The credential to connect to the REST API.

You can find more information about the REST API in Upstash’s documentation

Use the UPSTASH_REDIS_URL with Redis clients. UPSTASH_REDIS_REST_URL is for the Upstash SDK and API.

Connecting to the Database

After provisioning the database, you can see Upstash Redis in the Resources tab of the Heroku Dashboard.

Clicking on Upstash redirects you to the Upstash Console for your database. There are code samples for connecting to your database on this page.
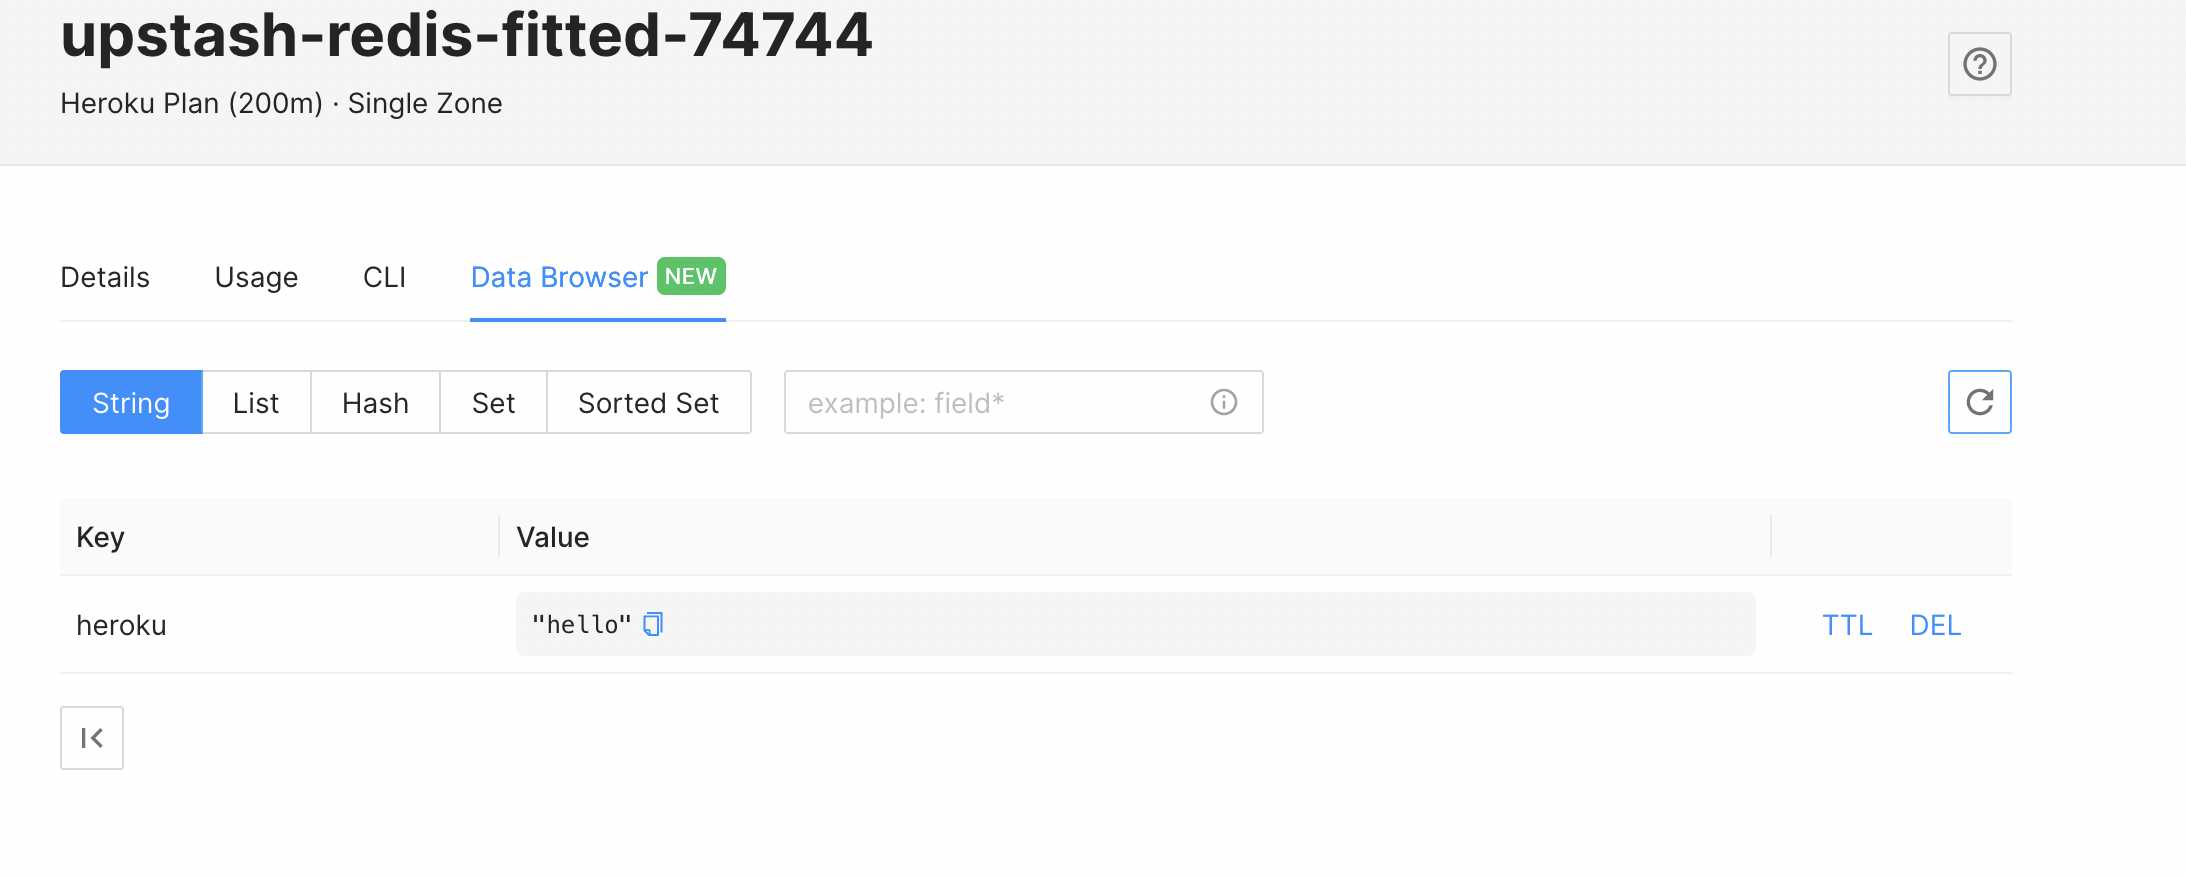
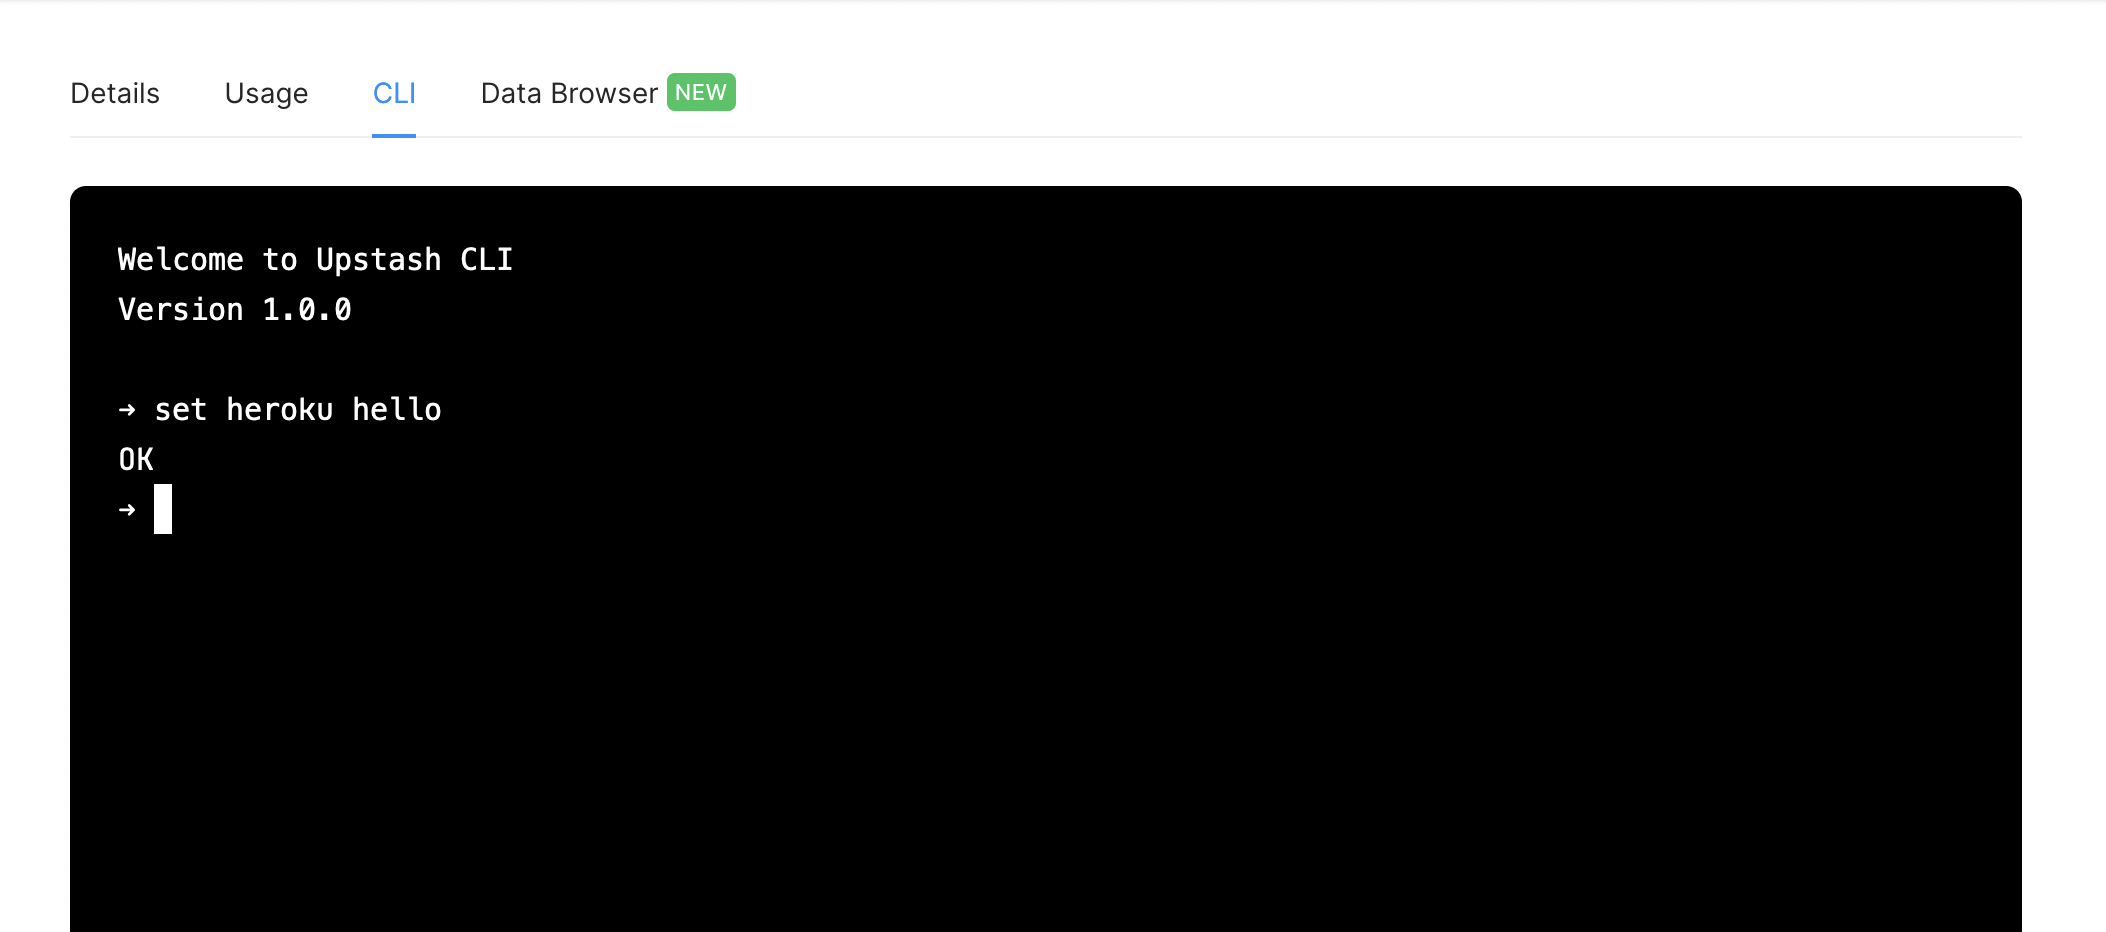
Upstash Console to Connect Your database

Data Browser & CLI

For ease of use, Upstash provides a Data Explorer and CLI in the Console. You can browse your data using this functionality.

Data Browser

Console CLI to execute Redis commands:

CLI

Migrating Between Plans

It’s possible to change from your current plan to another. For example:

heroku addons:upgrade upstash-redis:3g

You can see all available plans here.

Removing the Add-on

You can remove Upstash Redis with the following command:

This action destroys all associated data and can’t be undone!

heroku addons:destroy upstash-redis

Support

If you have any questions, please send Upstash an email at support@upstash.com.

You can join the Upstash discord channel.

Check Upstash’s documentation for more about its features and example projects.

Keep reading

  • All Add-ons

Feedback

Log in to submit feedback.

Ziggeo URL X-Ray

Information & Support

  • Getting Started
  • Documentation
  • Changelog
  • Compliance Center
  • Training & Education
  • Blog
  • Podcasts
  • Support Channels
  • Status

Language Reference

  • Node.js
  • Ruby
  • Java
  • PHP
  • Python
  • Go
  • Scala
  • Clojure

Other Resources

  • Careers
  • Elements
  • Products
  • Pricing

Subscribe to our monthly newsletter

Your email address:

  • RSS
    • Dev Center Articles
    • Dev Center Changelog
    • Heroku Blog
    • Heroku News Blog
    • Heroku Engineering Blog
  • Heroku Podcasts
  • Twitter
    • Dev Center Articles
    • Dev Center Changelog
    • Heroku
    • Heroku Status
  • Facebook
  • Instagram
  • Github
  • LinkedIn
  • YouTube
Heroku is acompany

 © Salesforce.com

  • heroku.com
  • Terms of Service
  • Privacy
  • Cookies
  • Cookie Preferences