Table of Contents [expand]
Last updated February 25, 2021
This add-on is operated by Iron.io
Elastic, High Performace, Highly Available, Secure Cloud-Based Key/Value Store.
IronCache is an elastic, scalable, highly available, persistent and secure cloud based key/value store. IronCache grows with you on demand, doesn’t evict items (they only expire), and ensures you’ll never need to rebuild your cache. It’s great for persistent and reliable incrementors/counters, and can be accessed through an easy to use REST interface or memcached interface. Used it for short term persistence and long term storage without worrying about losing data.
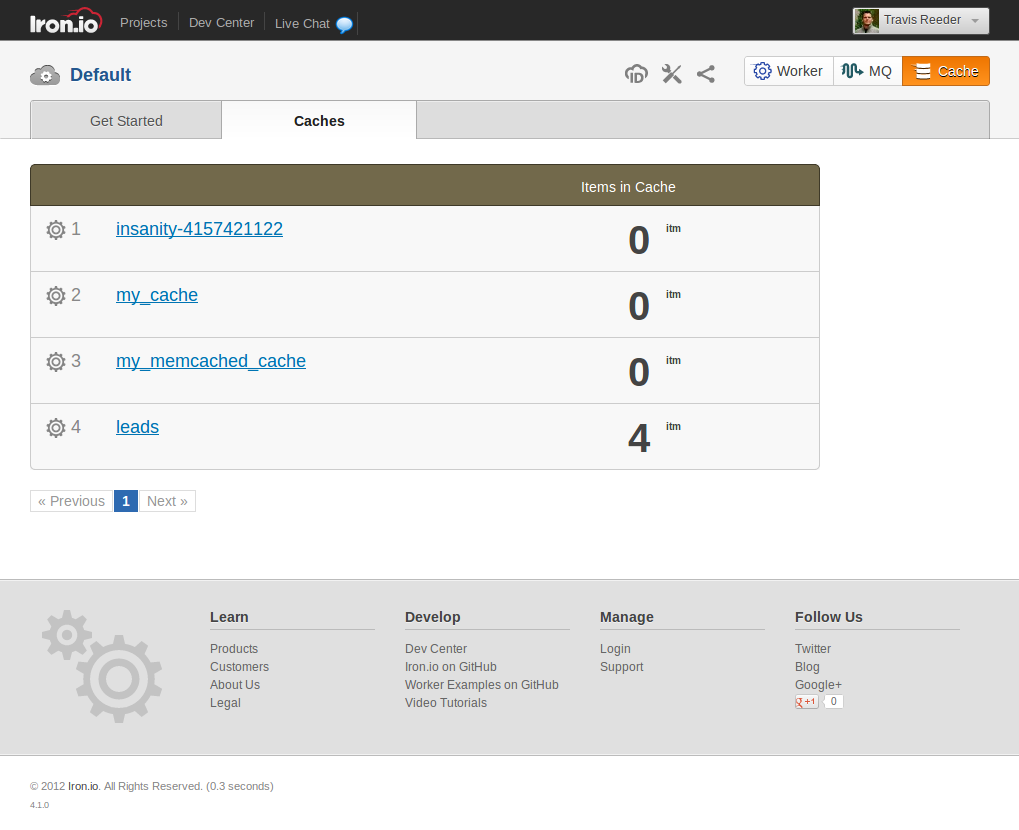
You also have full visibility into your caches and usage with the Iron.io user interface:
Getting started
1) Install the IronCache addon for Heroku:
$ heroku addons:create iron_cache:developer
-----> Adding iron_cache to cold-winter-5462... done, v10 (free)
2) Install the IronCache client library (Ruby Example):
$ gem install iron_cache
3) Configuration: Retrieve Token and Project ID
$ heroku config | grep IRON
IRON_WORKER_PROJECT_ID => 123456789
IRON_WORKER_TOKEN      => aslkdjflaksuilaks
4) Use the installed client lib to interact with your caches (create a cache, get/put/delete an item from a cache, etc.). Client lib is a wrapper over the rest api.
Ruby
First, install the Ruby gem:
$ gem install iron_cache
Fetching: iron_cache-1.4.0.gem (100%)
Successfully installed iron_cache-1.4.0
If you’re building for a Rails application or anything that uses Bundler, add the following to your Gemfile:
gem 'iron_cache'
Ruby usage
This is for the Ruby client, but all clients have the same operations. See the docs for your particular language.
require 'iron_cache'

# Create an IronCache::Client object
@ironcache = IronCache::Client.new

# Get a cache (if it doesn't exist, it will be created when you first post an item
@cache = @ironcache.cache("my_cache")

# Put an item
@cache.put("mykey", "hello world!")

# Get an item
item = @cache.get("mykey")
p item.value

# Delete an item
item.delete # or @cache.delete("mykey")

# Increment an item in the cache
item = @cache.increment("mycounter", 1)
p item
Python
Install with pip/easy_install
iron_cache_python is available in the Python Package Index as “iron_cache”. This means you can run pip install iron_cache
or easy_install iron_cache from your command line to download iron_cache_python and all its dependencies.
Install from source
You can also download the source from Github. Once you have the source, you can run python setup.py install
from the directory containing the source code to install iron_cache_python.
Note: You will need the iron_core_python module for iron_cache_python to function.
Python usage
from iron_cache import *

# Create an client object
cache = IronCache()

# Put an item
cache.put(cache="test_cache", key="mykey", value="Hello IronCache!")

# Get an item
item = cache.get(cache="test_cache", key="mykey")
print item.value

# Delete an item
cache.delete(cache="test_cache", key="mykey")

# Increment an item in the cache
cache.increment(cache="test_cache", key="mykey", amount=10)
PHP
Install
Download iron_cache.phar from from Github and require it in your code:
<?php
require_once "phar://iron_cache.phar";
PHP usage
<?php
require_once "phar://iron_cache.phar";

# Create a client object
$cache = new IronCache();
$cache->setCacheName('my_cache');

# Put an item
$cache->put("mykey", "hello world!");

# Get an item
$item = $cache->get("mykey");
echo $item->value

# Delete a message (you must delete a message when you're done with it or it will go back on the queue after a timeout
$cache->delete("mykey");

# Increment an item in the cache
$cache->increment("mykey", 1);
Next steps
You can find full documentation at the Iron.io Dev Center.
Support
Issues should get logged with Heroku Support. You’re also welcome to stop by the Iron.io support chat room and chat with Iron.io staff about issues. You can also find more resources at the Iron.io Dev Center.