Blitline
Last updated July 27, 2023
This article is a work in progress, or documents a feature that is not yet released to all users. This article is unlisted. Only those with the link can access it.
Table of Contents
Blitline is an add-on for providing image processing in the cloud.
Image processing is a time intensive and CPU heavy process. Usually image processing is accompanied by managing queues and maintenance overhead. Blitline is a cloud based image processor designed to take the image processing off your machines and into the cloud.
Blitline is accessible via a JSON API and has supported client libraries for Ruby & Node
Provisioning the Blitline add-on
Blitline can be attached to a Heroku application via the CLI:
A list of all plans available can be found here.
$ heroku addons:create blitline:developer
-----> Adding blitline:developer to sharp-mountain-4005... done, v18 (free)
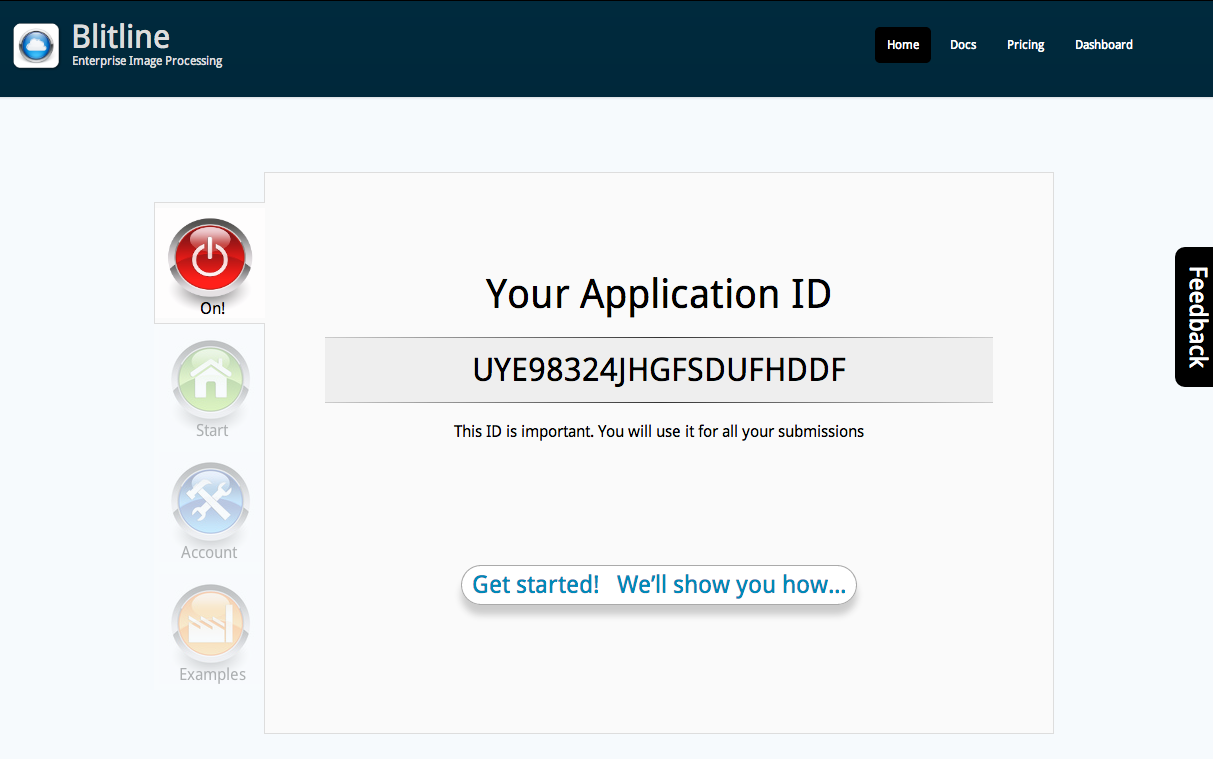
Once Blitline has been added a BLITLINE_APPLICATION_ID setting will be available in the app configuration and will contain the application id needed to call Blitline. This can be confirmed using the heroku config:get command.
$ heroku config:get BLITLINE_APPLICATION_ID
821934dsfadf24314234213
Using with Rails 3.x
Ruby on Rails applications will need to add the following entry into their Gemfile specifying the Blitline client library.
gem 'blitline'
Update application dependencies with bundler.
$ bundle install
See a list of available functions on Blitline.
Once the gem is installed, you can start a Rails console and try the following:
blitline_service = Blitline.new
job = Blitline::Job.new("http://www.google.com/logos/2011/yokoyama11-hp.jpg") #My source file to manipulate
job.add_function("blur", {:radius=>1}, "my_first_image") # Add a blur function, with no params, and give a unique name to the result
job.application_id = **BLITLINE_APPLICATION_ID** # This BLITLINE_APPLICATION_ID needs to be your application ID which you got from the instructions above
blitline_service.jobs << job # Push job into service
blitline_service.post_jobs
You will get JSON back describing where the resulting image will be located There are many more things you can do with images (including pushing them to your own S3 buckets).
Check out the Blitline Gem on Github
Using with Node
For your node project, simply npm install it
$ npm install blitline
Once installed, you can try the following code in your NodeJS app:
var Blitline = require('./lib/blitline');

var blitline = new Blitline();
/* Replace BLITLINE_APPLICATION_ID with your Blitline application_id */
var job = blitline.addJob("BLITLINE_APPLICATION_ID", "http://www.google.com/intl/en_com/images/srpr/logo3w.png");
/* Add a blur function to the image */
var blur_function = job.addFunction("blur", null, "my_blurred_image");
/* Once blurred, add a sepia filter to the image */
var sepia_function = blur_function.addFunction("sepia_tone", null, "my_blurred_sepia_toned_image");
/* Once blurred, crop to 50x50 */
var crop_function = sepia_function.addFunction("resize_to_fill", { width: 50, height: 50}, "my_sepia_tone_blurred_cropped_image");

blitline.postJobs(function(response) {
  console.log(response);
});
And you will get JSON back describing where the resulting image will be located There are many more things you can do with images (including pushing them to your own S3 buckets).
Dashboard
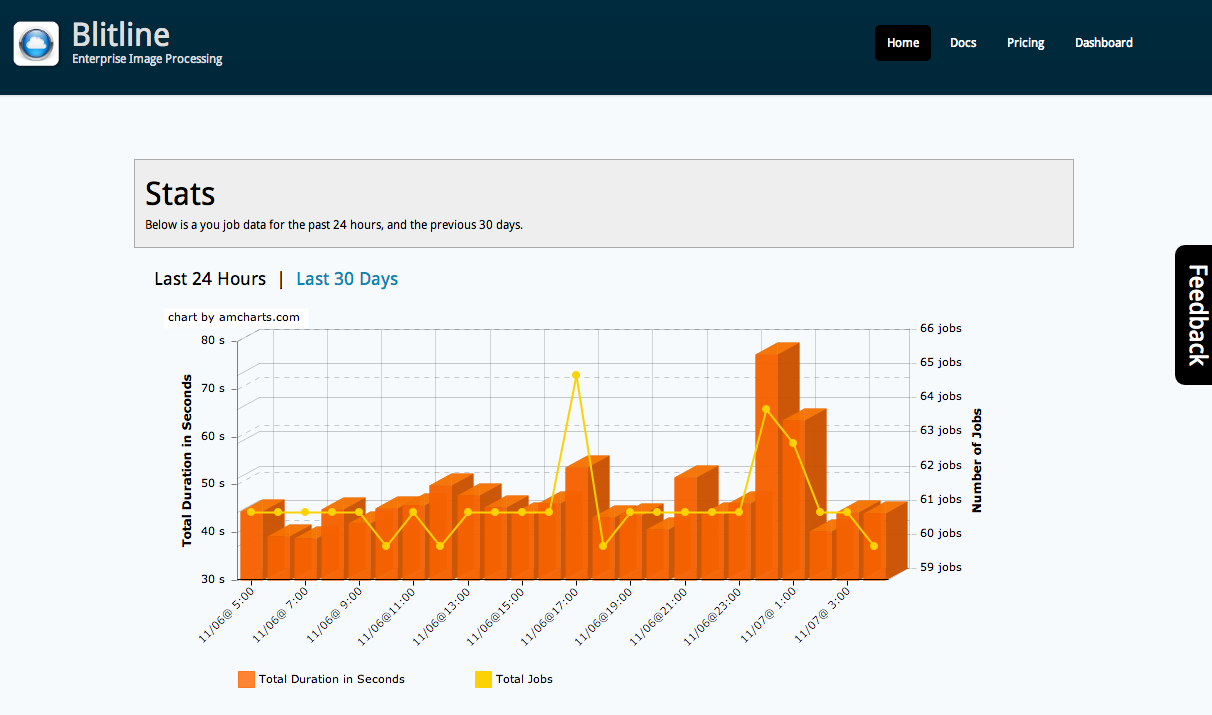
The Blitline dashboard allows you to see your current usage and view you latest jobs that have been submitted.


The dashboard can be accessed via the CLI:
$ heroku addons:open blitline
Opening blitline for sharp-mountain-4005…
or by visiting the Heroku Dashboard and selecting the application in question. Select ADDON_NAME from the Add-ons menu.
Removing the add-on
Blitline can be removed via the CLI.
$ heroku addons:destroy blitline:developer
-----> Removing blitline:developer from sharp-mountain-4005... done, v20 (free)
Support
All Blitline support and runtime issues should be submitted via on of the Heroku Support channels. You can find many other informative articles and tricks at http://blog.blitline.com