Auth0
Last updated March 20, 2024
This article is a work in progress, or documents a feature that is not yet released to all users. This article is unlisted. Only those with the link can access it.
Auth0 is an add-on for providing single sign on and user management with social and enterprise identities.
- Enable Email/Password authentication and Single Sign On with brute force protection for all your apps (web, single page, native or hybrid).
- Consolidate/migrate your own user repositories (PG, mySql, SQL Server, Mongo, etc.) under a single identity store as they login (no bulk import needed)
- Add SAML authentication without worrying about the integration with multiple providers (ADFS, SiteMinder, PingFederate, Okta, OneLogin, etc.), we take care of that.
- Add social authentication with Google, Facebook, Microsoft Account, 30+ others or any other OAuth2 provider.
- Get a normalized user profile regardless of the provider used.
- Add support for linking user accounts manually or automatically by email.
- Customize and extend Auth0’s capabilities with custom logicle, through JavaScript Actions.
- Single Sign On with Third Party Apps/Platforms like WordPress, Zendesk, Drupal, and more.
Auth0 is accessible via an API and has supported client libraries for Ruby, Node.js and many others.

Provisioning the add-on
Auth0 can be attached to a Heroku application via the CLI:
A list of all plans available can be found here.
$ heroku addons:create auth0 --type=[nodejs|rails] --subdomain=myapp
-----> Adding Auth0 to sharp-mountain-4005... done, v18 (free)
Once Auth0 has been added you will have three settings on your app:
AUTH0_CLIENT_ID: the id that identifies your application.AUTH0_CLIENT_SECRET: the secret for your applicationAUTH0_DOMAIN: you will get your own subdomain on auth0AUTH0_CALLBACK_URL: the url where auth0 will redirect the user after authentication
$ heroku config:get AUTH0_CLIENT_ID
9jf020kksfiuhifruiudtgudjsoeiuk
After installing Auth0 the application should be configured to fully integrate with the add-on.
Local setup
Environment setup
After provisioning the add-on it’s necessary to locally replicate the config vars so your development environment can operate against the service.
Though less portable it’s also possible to set local environment variables using export AUTH0_CLIENT_ID=value.
Use the Heroku Local command-line tool to configure, run and manage process types specified in your app’s Procfile. Heroku Local reads configuration variables from a .env file. To view all of your app’s config vars, type heroku config. Use the following command to add the values retrieved from heroku config to your .env file.
$ heroku config -s | grep 'AUTH0_CLIENT_ID\|AUTH0_CLIENT_SECRET\|AUTH0_DOMAIN' | tee -a .env
Credentials and other sensitive configuration values should not be committed to source-control. In Git exclude the .env file with: echo .env >> .gitignore.
For more information, see the Heroku Local article.
If you are trying from localhost you might want to change or add localhost as the callback url
Tutorials
The tutorials will be customized with your own API keys if you are logged in to the dashboard.
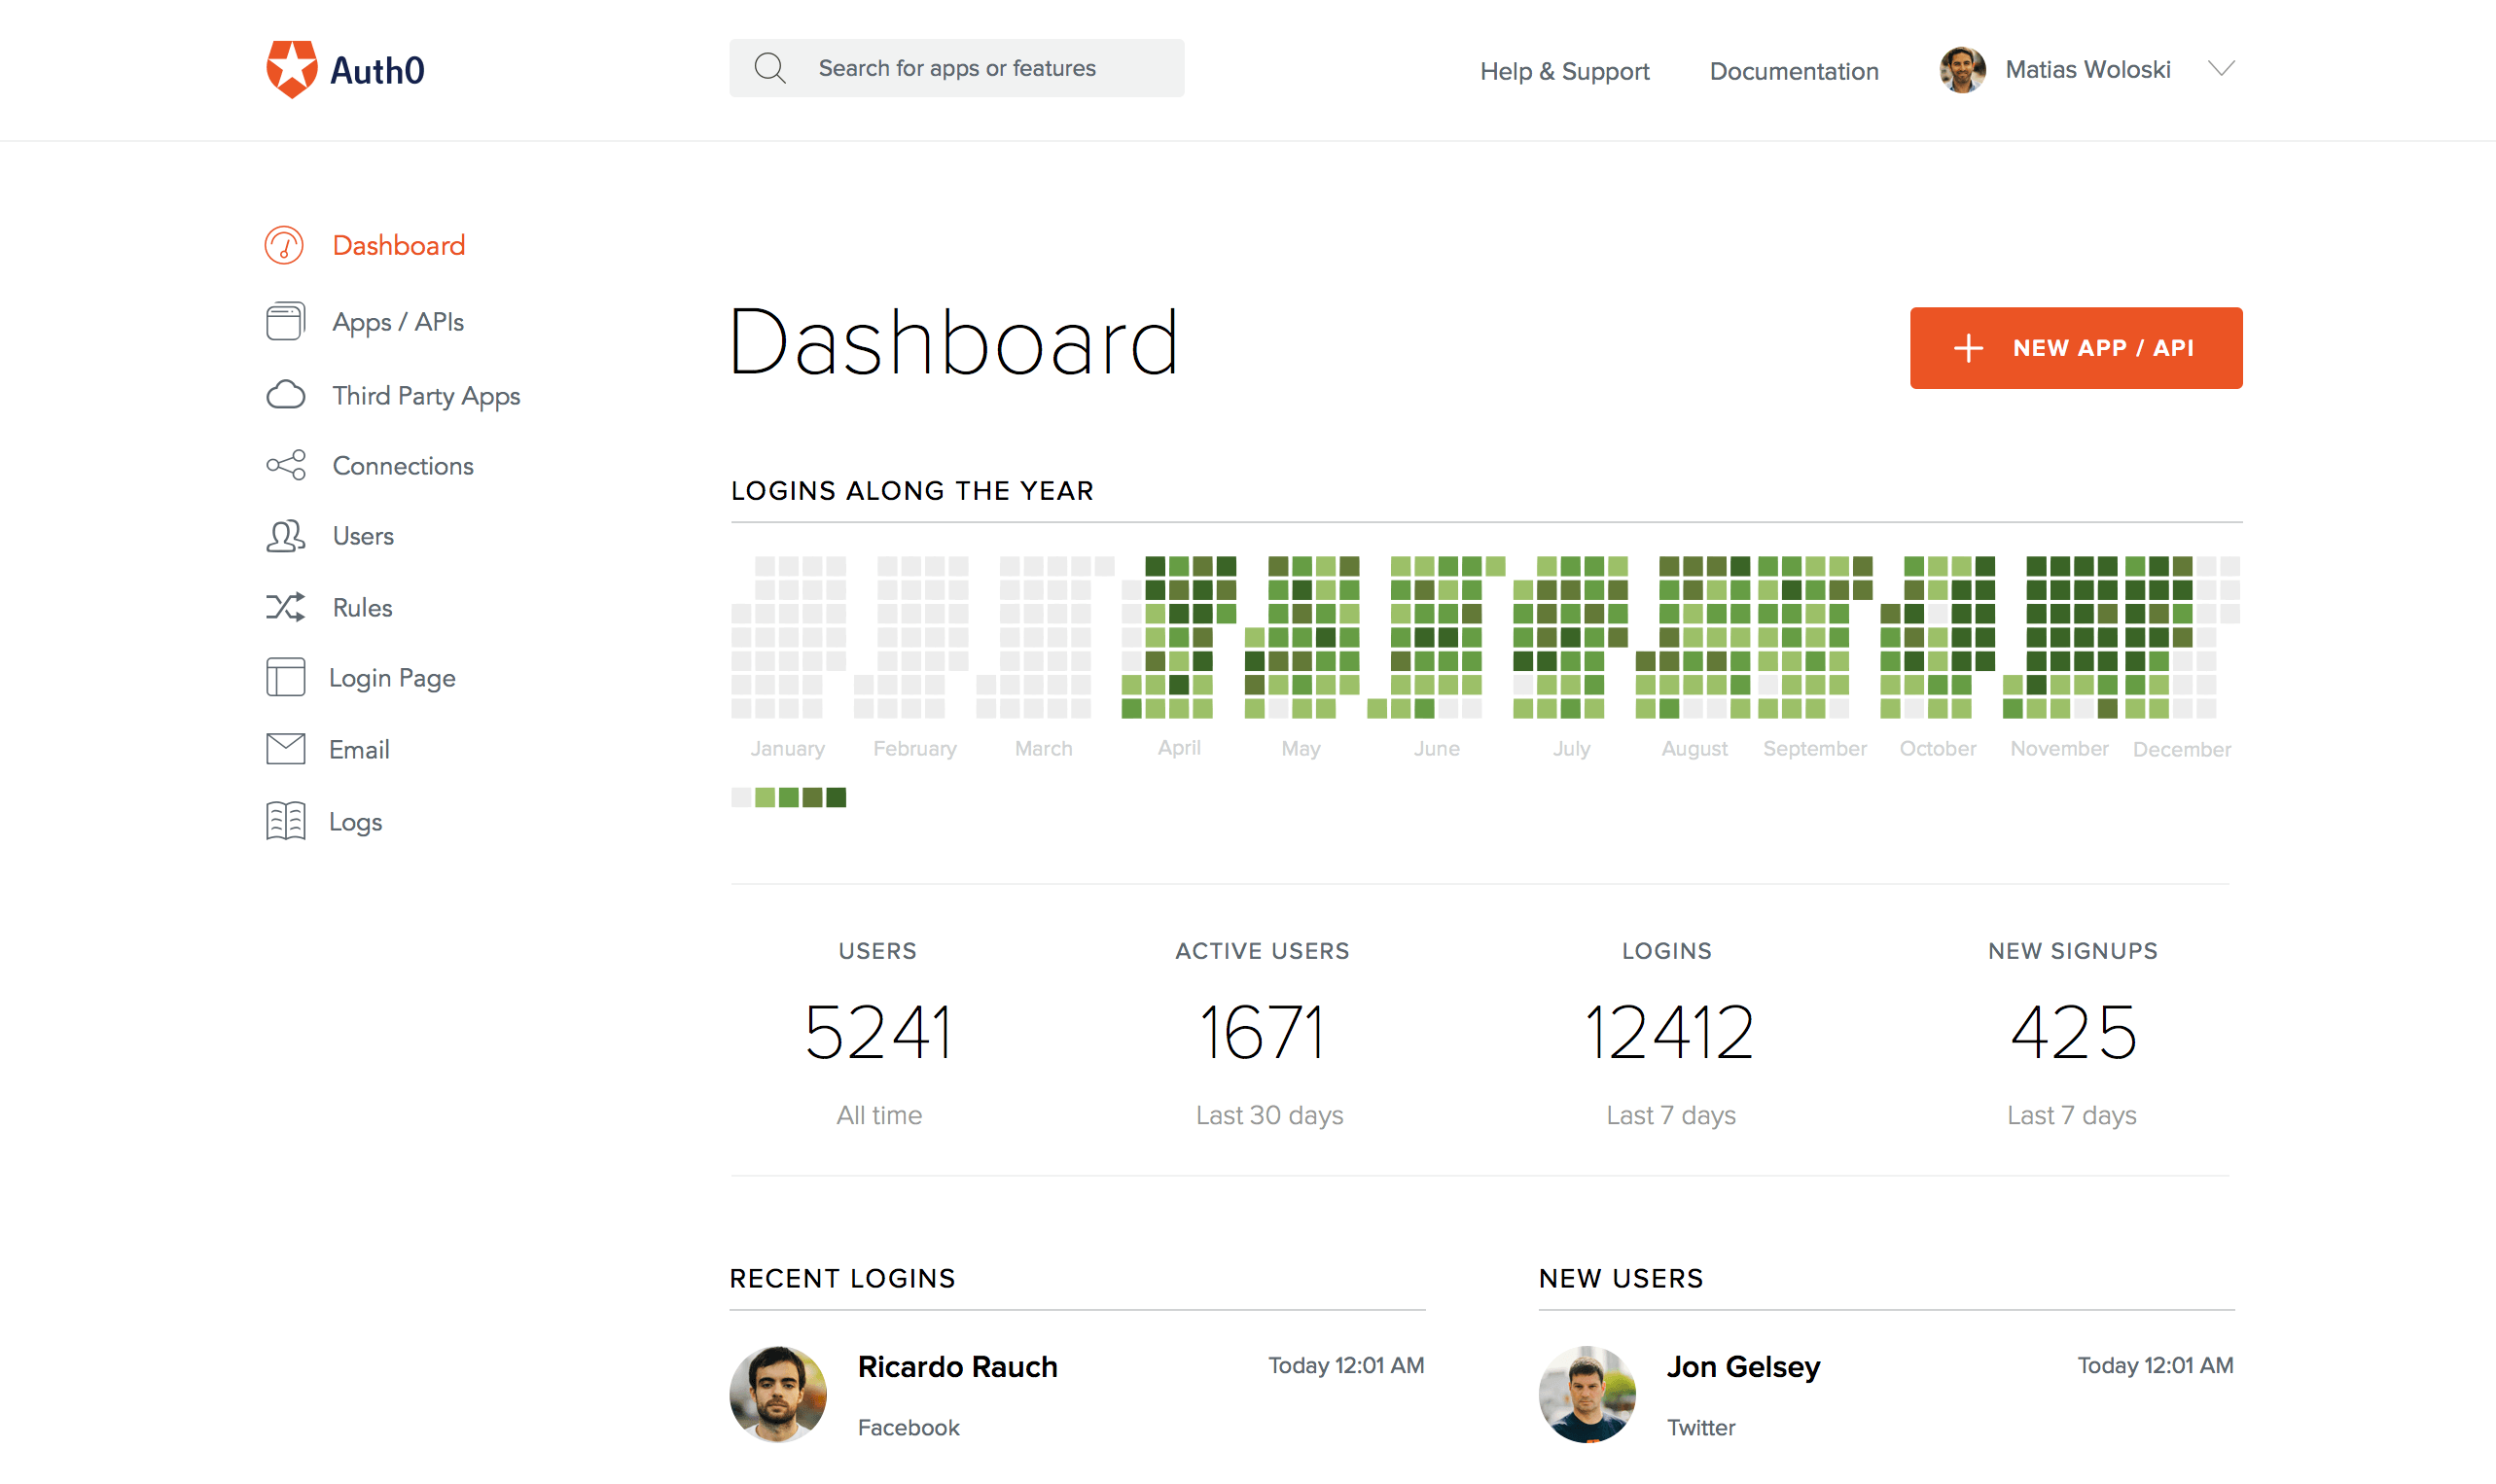
Login to Auth0 Dashboard
$ heroku addons:open auth0
Opening Auth0 for sharp-mountain-4005…
Or by visiting the Heroku Dashboard and selecting the application in question. Select Auth0 from the Add-ons menu.
Choose the right tutorial
Auth0 also helps with Single Page Apps with APIs. Here are some of the most popular ones:
… and native and hybrid mobile apps with APIs.
Removing the add-on
Auth0 can be removed via the CLI.
This will destroy all associated data and cannot be undone!
$ heroku addons:destroy auth0
-----> Removing auth0 from sharp-mountain-4005... done, v20 (free)
Support
All resources are constantly monitored as shown on our status page.
Reach support via our support center.